Username
Password
Remember Me
Log in
Pending Registration UserGuide

Purpose

This document is a User Guide for Pending Registration extension for Magento. It describes how work with the extension.

Pending Registration aims at expanding Magento registration functionality. With this extension manual validation of accounts is available. Only after an account has been validated there is ability for the customer to login.


Installation

All our Magento extensions and templates are installed via IToris Installer. .

Download IToris Installer and un-pack to the root of your website. It will then appear in menu System –>IToris extensions –> IToris Installer.

Open it and you will see all our Magento Extensions and Templates, both installed and available. You can install, update and un-install them with one click now.

Find Pending Registration in the list of extensions and press Install button. It will ask for the license key that you will receive after the purchase. Enter the key and submit. The extension will be installed. It will be available in menu System –>IToris extensions –> Pending Registration.

License

Pending Registration is website-dependent. By ‘website’ here we understand the website in Magento terms. Under one Magento installation one license key of the extension can activate all stores/storeviews. within one website. If your configuration has several Magento websites - a separate license will be required for each.

You can switch the license from one domain to another – login to IToris website using the credentials you will receive after the purchase. Go to My Downloads area, find your key there and reset it from the current website. Then use it again to activate another website.

The license also includes free life-time updates for the extension.


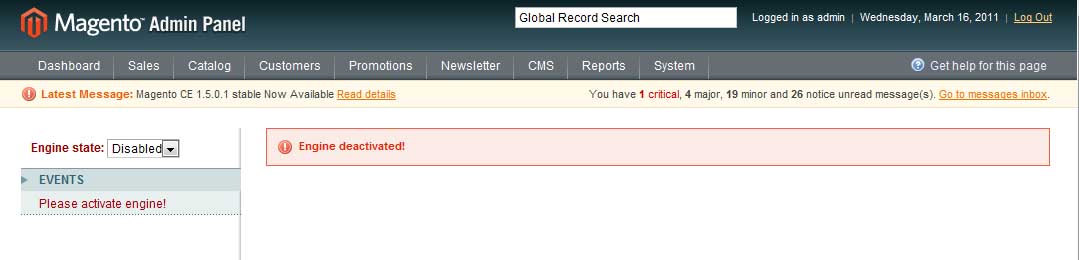
Settings. Activation and Deactivation


Install Pending Registration extension and open it in admin area (System –>IToris extensions –> Pending Registration You will see Settings area:


pending registration installed


By defaults the extension is active once it is installed. There is ability to deactivate it (it says installed, but Magento usual account activation procedure will be used).

To deactivate the extension select Engine State ‘Disabled’. You will see the message that the extension is deactivated.

pending registration deactivated


To activate Pending Registration . back select Engine status ‘Active

Settings. Previously Created Customers


If there have been customers already when the extension is installed – administrator selects which status the existing customers should receive – pending or active.


Settings. Emails


Pending Registration extension includes 4 email templates.

There is ability to manage email templates in a similar way it is provided in Magento. You can insert dynamic variables to the email template, can create a subject and set to whom the email should be sent.

The main difference though is that WYSIWYG is provided for email templates. You can create your templates in a convenient visual style.

The email templates are the following:

  • Email to admin – this email is sent to administrator after a new user has successfully completed the registration procedure.
  • Email to user – this is a initial email customers will receive once the registration is completed successfully. This email will prescribe that a new account needs validation to become active.
  • Email approved – this email is send to customers after administrator has changed the status of a customer to ‘approved’.
  • Email declined – this email is send to customers after administrator has changed the status of a customer to ‘approved’.

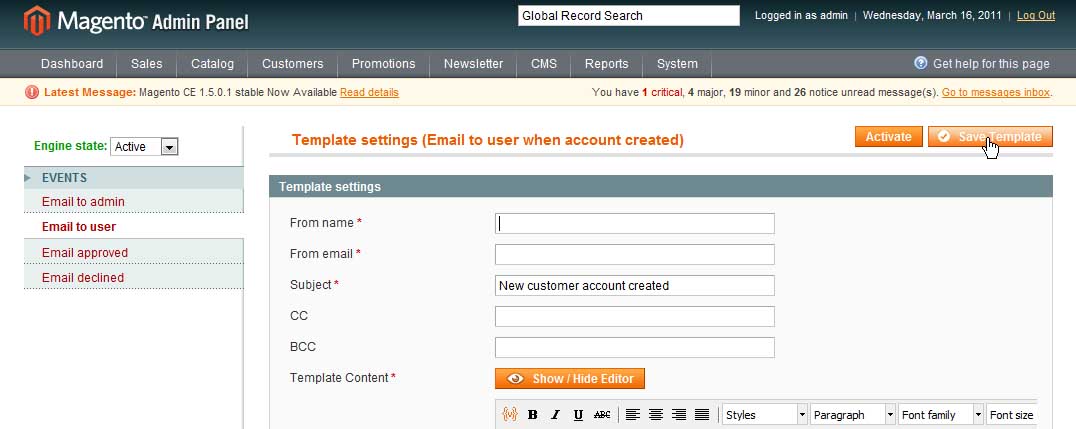
All emails are sent automatically. Administrator can change the defaults text of the email templates, add description/decorations.


Saving Email Templates

By defaults all email templates are inactive. To save an email template administrator should press save template button. This Does NOT activate the email template, this only saves the changes.
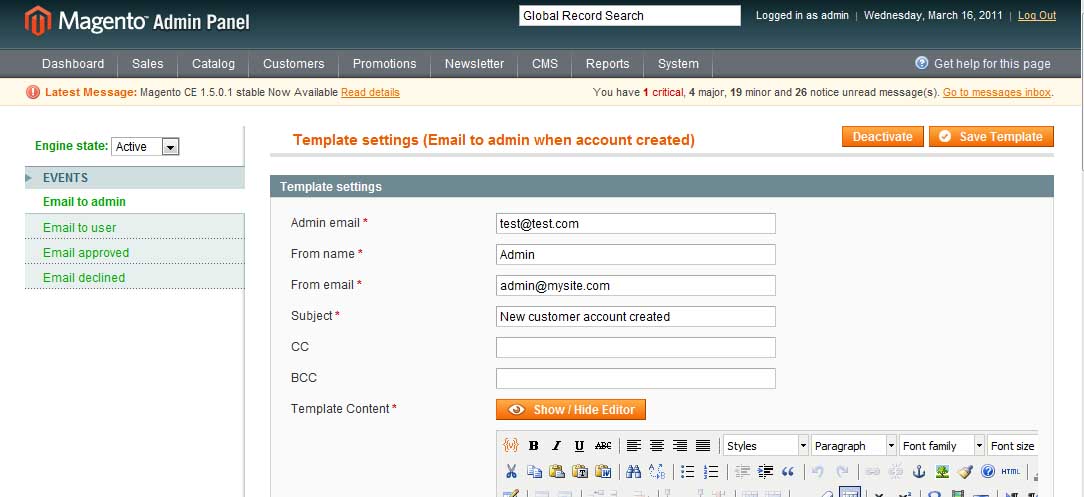
save template


Activating Email Templates

To activate an email template administrator should press activate button. All inactive email templates are red. Once a template is activated – it becomes green.
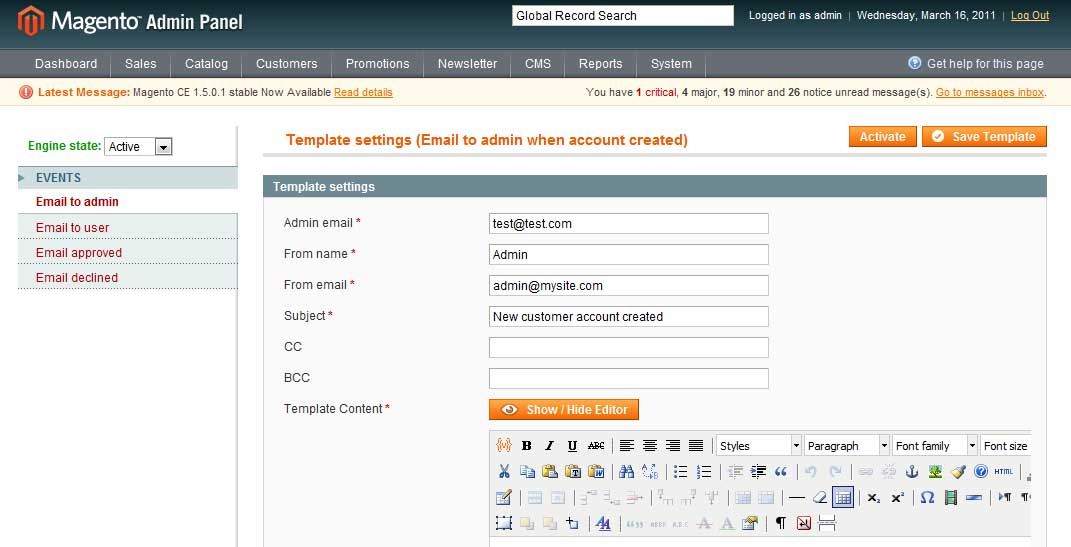
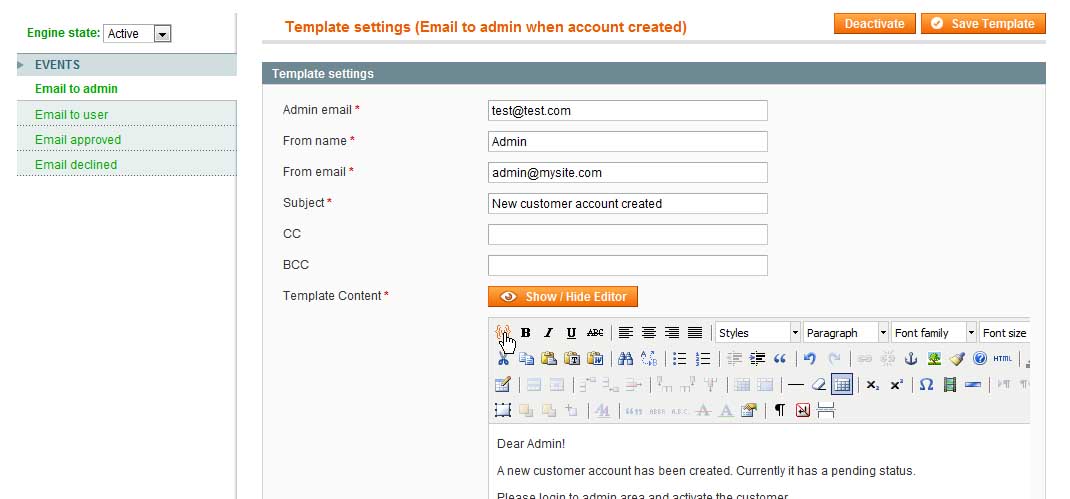
activate temapltes


Email to Admin

When a new account has been created admin will receive this email. The email template has the following settings:

email to admin1

  • Admin email – enter the email address to which the notification should be sent
  • From name – the name that will be used in the email
  • From email – the email address that will be used in the email
  • Subject
  • CC
  • BCC
  • Template Content – by defaults a WYSIWYG editor will be switched on. You can create the email template in a visual way.

WYSIWYG editor can be switched off by pressing show/hide editor button. This will hide the WYSIWYG regime, admin will be able to write email’s code directly.

There is an icon in WYSIWYG to add variables to email template.


Emails to Users

The rest of email templates are very similar. They differ in body text mostly.

They have no field to which email they should be sent as this field is taken from customer’s registration.


Customers’ Management


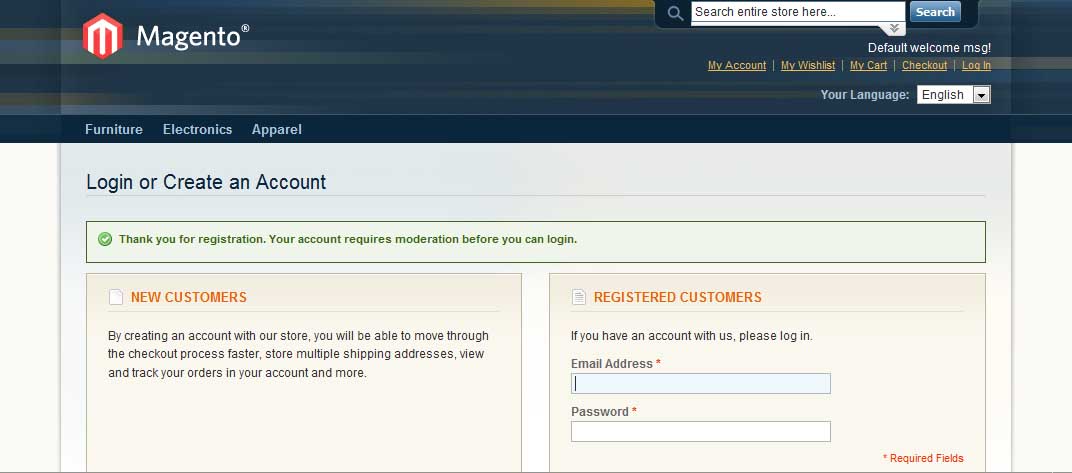
When a new customer registers – on successful registration he/she sees the following message:

customer registration

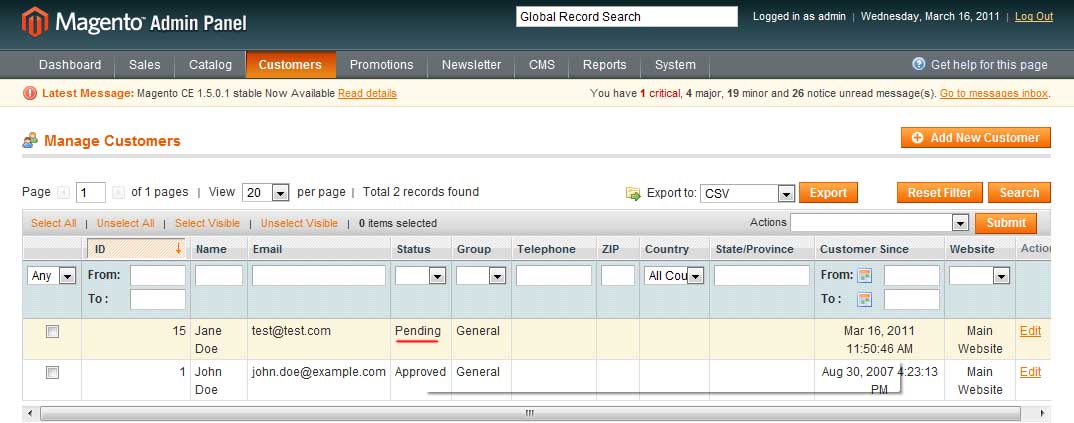
Now customer is registered, the status of the account is pending. Customer cannot login yet.

Administrator receives an email notification about the new registration. He/she logs in to admin area, Customers -> Manage Customers.

pending status

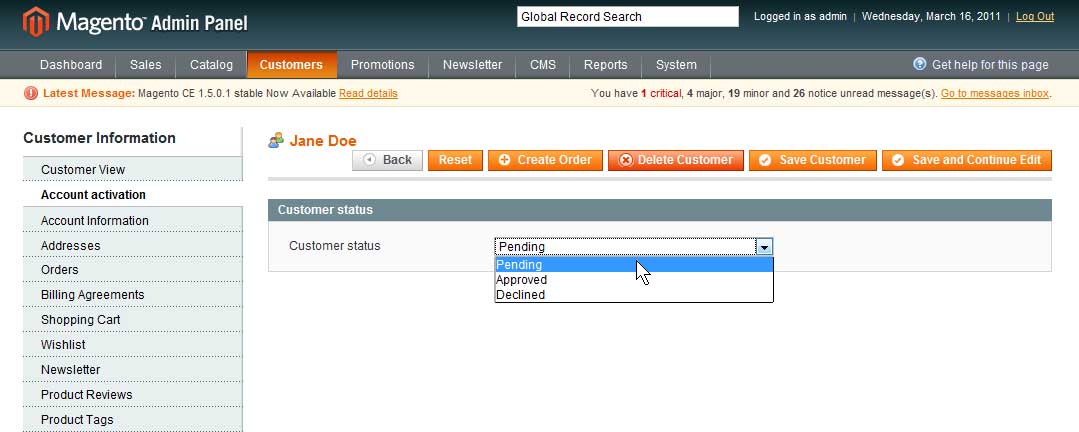
Administrator opens the customer for editing. In the profile there is Account Activation area.

Administrator can change the status to either approved or declined.

status change

Both result in sending emails to the customer. Approved customers can login.


Integration of Pending Registration and Registration Fields Manager


Pending Registration module works well with one more module developed by IToris - Registration Fields Manager.

Registration Fields Manager helps to customize registration form as well as customers’ accounts, adding any new fields you need there. It also allows creating different custom registration forms/accounts for different stores.

Usecase: you have a wholesale and a retail store. With Registration Fields Manager you can create a custom registration form and collect all data you need for wholesalers. Pending Registration makes these new accounts pending until they are validated by admins. For retailers the registration form will have additional fields as well, yet will differ from the wholesalers’ one. Their accounts will be activated immediately. In customers’ accounts wholesalers and retailers will see different data, as it depends on their registration form.

When you use both the extensions, you can pull custom fields from the registration to customers’ email templates in Pending Registration. To do it use {{ipr_customer_myfield}} variable, where myfield is the field’s name in Registration Fields Manager.