Username
Password
Remember Me
Log in
Forgot your password?
Forgot your username?
Forgot your username?
|
Sale Alerts for Magento User Guide
PurposeThis document is a User Guide for Sale Alerts module for Magento. It describes how work with the extension. This module allows customers to track price reduction and discounts on the selected products. As soon as the price has been reduced customers receive email notifications. There is also a new list in customers’ profiles where they can track price reduction, see how much they save on their selected products. System RequirementsThe extension works under Magento from 1.4.x and higher. The extension works with Apache 1.3.x and higher, PHP 5, Linux or IIS. The extension’s correct work is guaranteed with the following browsers:
The correct work with other Magento versions, other browsers and Apache/PHP versions is not guaranteed. InstallationAll our Magento extensions and templates are installed via IToris Installer.
LicenseSale Alerts extension is website-dependent. By ‘website’ here we understand the website in Magento terms. Under one Magento installation one license key of the extension can activate all stores/storeviews. within one website. If your configuration has several Magento websites - a separate license will be required for each. SettingsGeneral Settings
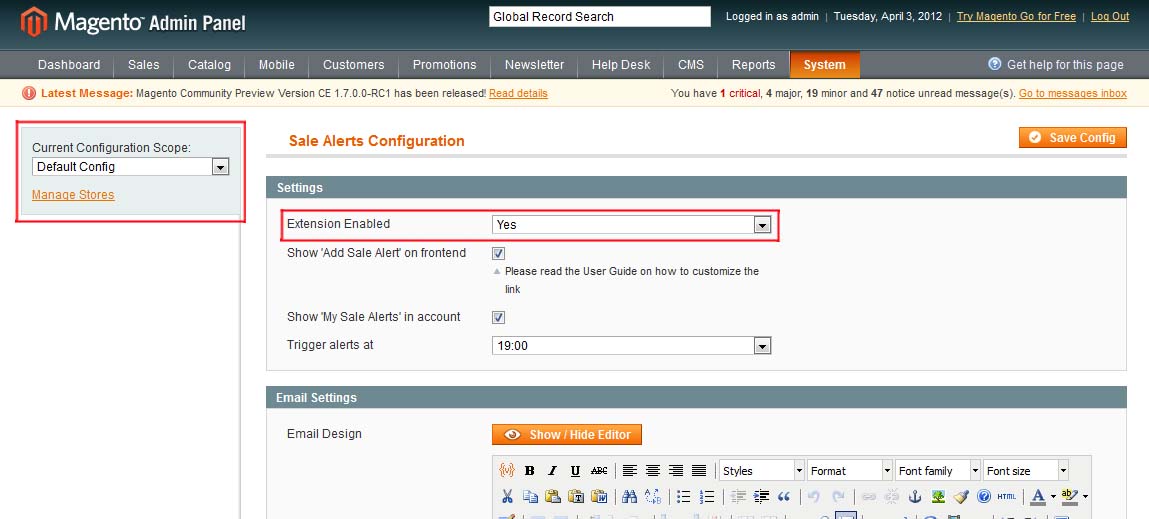
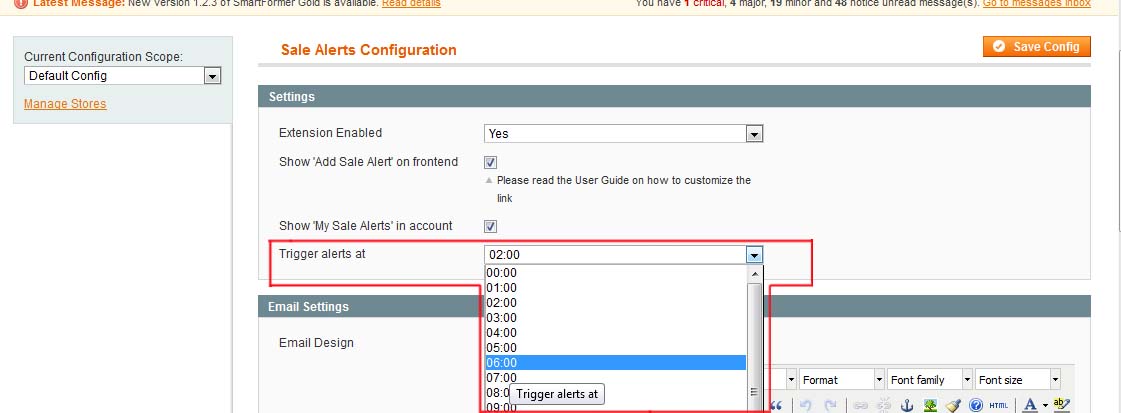
After any changes have been applied, settings need to be saved. In order to enable the module for the front-end select Extension Enabled = Yes.
Current Configuration Scope on the left allows enabling or disabling the module for selected stores only. Languages’ SettingsDifferent languages can be used for different stores in the module. By defaults the module is provided in English. To translate it for stores please open app/locale/en_En in your Magento and find Itoris_SaleAlerts.csv file there. Copy the file to the locale you need and open the copy for editing. The file will contain each phrase twice. Translate the second part of each phrase and save the changes. SettingsAdd Sale Alerts on Product Pages
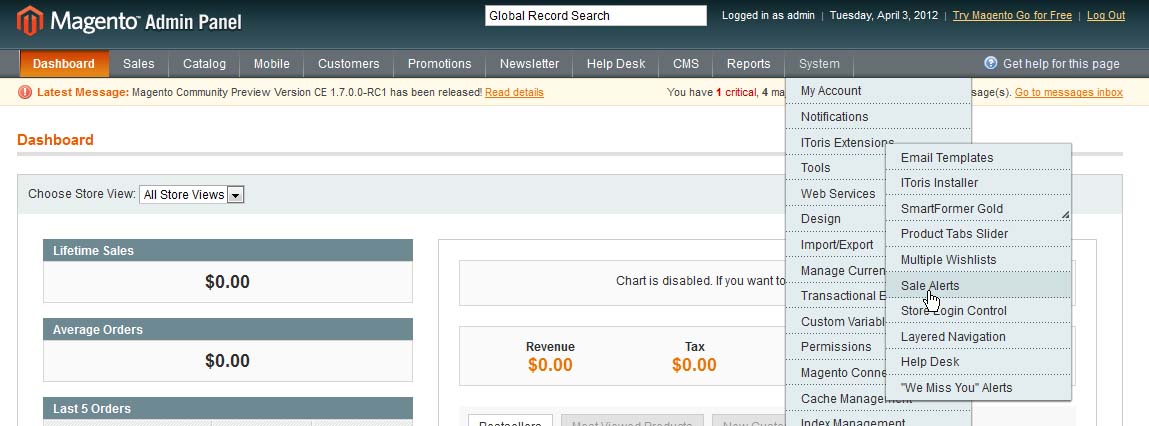
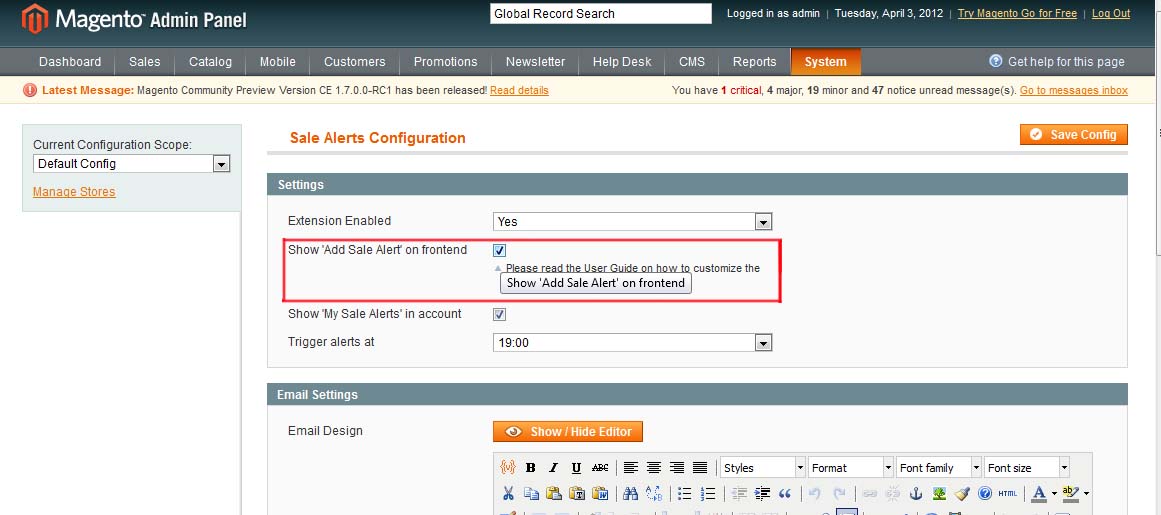
How to AddTo add standard-looking Sale Alert link please activate this in admin area. Select System –>IToris extensions –> Sale Alerts and check Show 'Add Sale Alert' on frontend checkbox.
Save the changes. What Your Customers will SeeAs a result, your customers will see a new link on product pages - Add Sale Alert:
If your customers are logged in, clicking this link will add this product to Sale Alerts. As soon as the price on it is reduced the customer will receive email notification. If they are not - they will be first redirected on login/registration page. As soon as they create a new account or login the product will be added to Sale Alerts List. The module also ‘saves’ the price customer has seen then and the new price, so that the savings are calculated. Custom LookThis link provides a standard look. You can change the color of the link via CSS. If you wish to change the look completely, please do the following: 1. Uncheck the display of the link in the settings in admin area 2. Create a new element to work as sale alert link. It can be any HTML-element that should have the attribute onclick="add_sale_alert()"
For example: <input type="button" value="Add Sale Alert" onclick="add_sale_alert()" />
or <img src="/..." onclick="add_sale_alert()" style="cursor:pointer" />
3. Add the element on the product pages. For example, it can be inserted in the file app/code/design/base/default/template/catalog/product/view.phtml SettingsAdd Sale Alerts in Customers Accounts
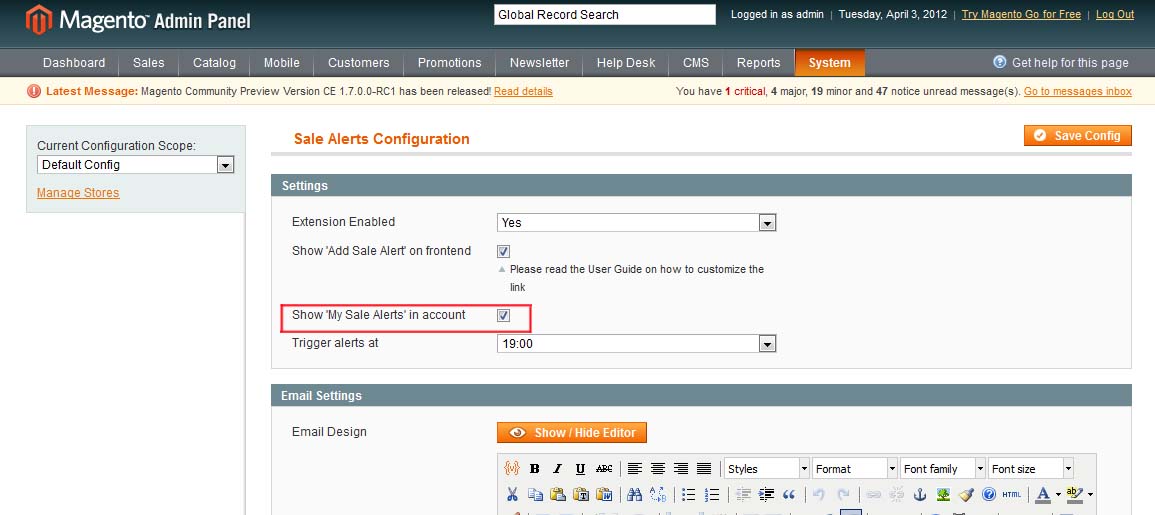
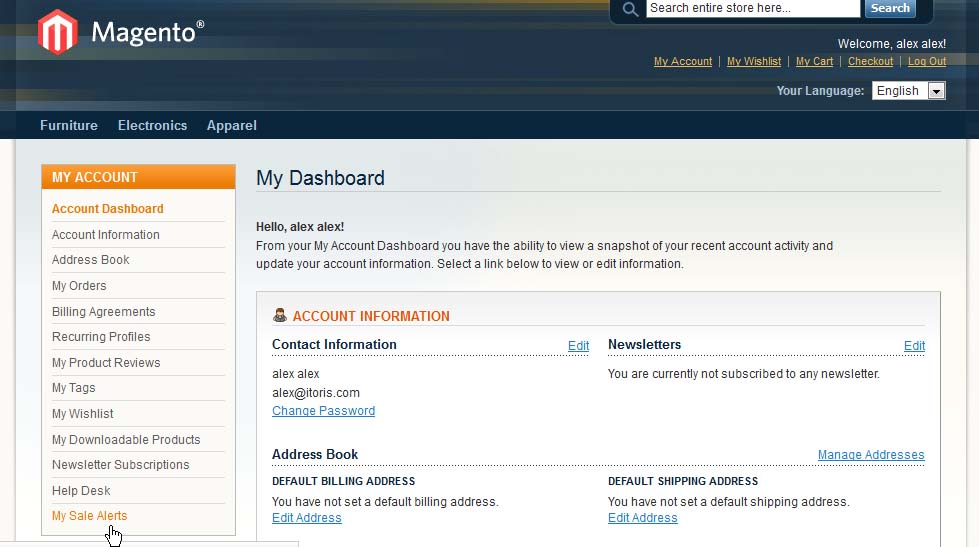
How to AddIf you wish your customers to have Sale Alerts list in their accounts and track the products and their price, please activate Show 'My Sale Alerts' in account setting in admin area.
Save the changes. What Your Customers will SeeThere will appear a new area in your customers’ account - My Sale Alerts.
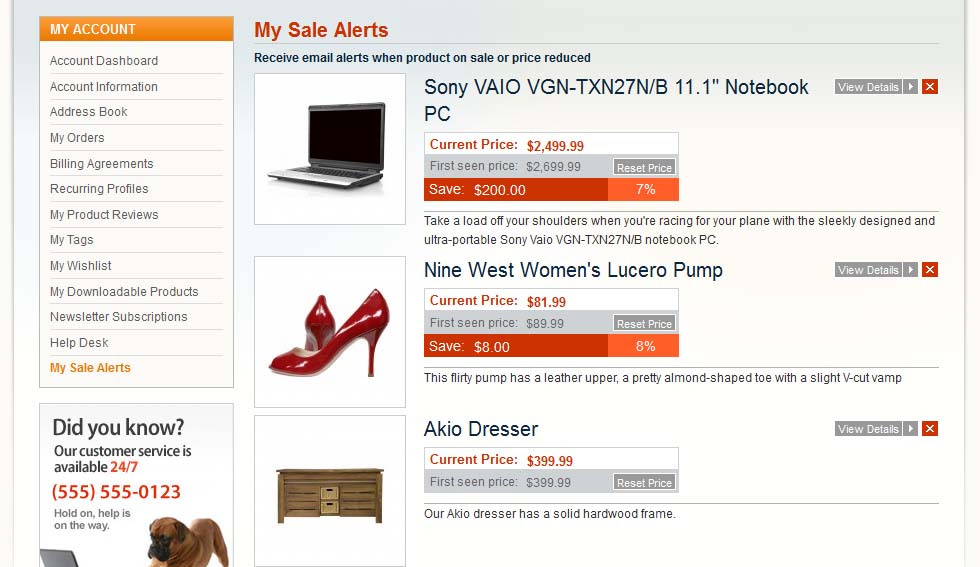
There will go all selected products. Customers will be able to see the previous and the new price of their selected products, as well as how much they save.
Products will be organized in the list. Each product will have title, image and description. If there is a new reduced price it will be highlighted - so that the customers see the new price and the percentage of the saving. Customers can view the product’s details from this list. They can remove the products. There is one more great feature - they can ‘reset’ price. This means equalizing the first seen and the current price, so that the discount tracking is started anew from the current price. SettingsEmail Notifications
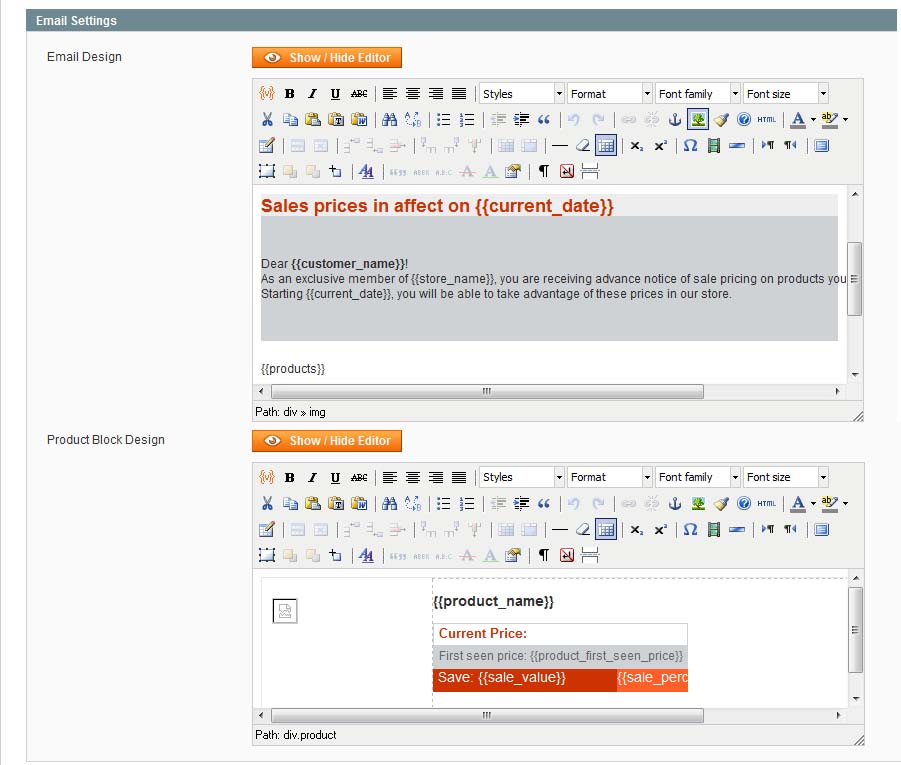
Create Email TemplateAs soon as a product has been selected for sale alerts by a customer, price tracking starts. So when there is a price reduction customers will receive email notification. If there are several products in the list, only the ones that have price reduction will appear in the email. To create email template please select System –>IToris extensions –> Sale Alerts . You will see Email Setting on the page. There are 2 editors on the page - Email Design WYSIWYG and Product Block WYSIWYG. Email design - the editor to create email template that the customers will receive for sale alert. In Product Block you can create the look of one product to be included in the email - if several products should be included then each of them will follow the created template. There are pre-defined designs created for you already, yet you can change them the way you need.
Available VariablesThe following variables can be inserted in email template and in product block: For email template:
For product block:
Cron and TriggerTo activate email notifications’ sending when there are discounts on the selected products, you will need cron to be set and activated on your website. There is ability to manage the time when the emails will be sent. Please select the preferred time in the settings:
|