Username
Password
Remember Me
Log in
Forgot your password?
Forgot your username?
Forgot your username?
|
Email Templates for Magento User Guide
PurposeThis document is a User Guide for Email Templates extension for Magento. It describes how work with the extension. Email Templates is a convenient Magento tool to manage the email templates. Its main advantage is a WYSIWYG editor for email templates, so you can create the look, add images, and manage the styles and texts of your emails in a convenient visual way. You do not need to guess any longer what your customers will see when they receive your emails - you will know this for sure now. System RequirementsThe extension works under Magento 1.4.x, and Magento 1.5.x and higher. The extension works with Apache 1.3.x and higher, PHP 5, Linux or IIS. The extension’s correct work is guaranteed with the following browsers:
The correct work with other Magento versions, other browsers and Apache/PHP versions is not guaranteed. InstallationAll our Magento extensions and templates are installed via IToris Installer.
LicenseEmail Templates extension is website-dependent. By ‘website’ here we understand the website in Magento terms. Under one Magento installation one license key of the extension can activate all stores/storeviews. within one website. If your configuration has several Magento websites - a separate license will be required for each.
Main Settings
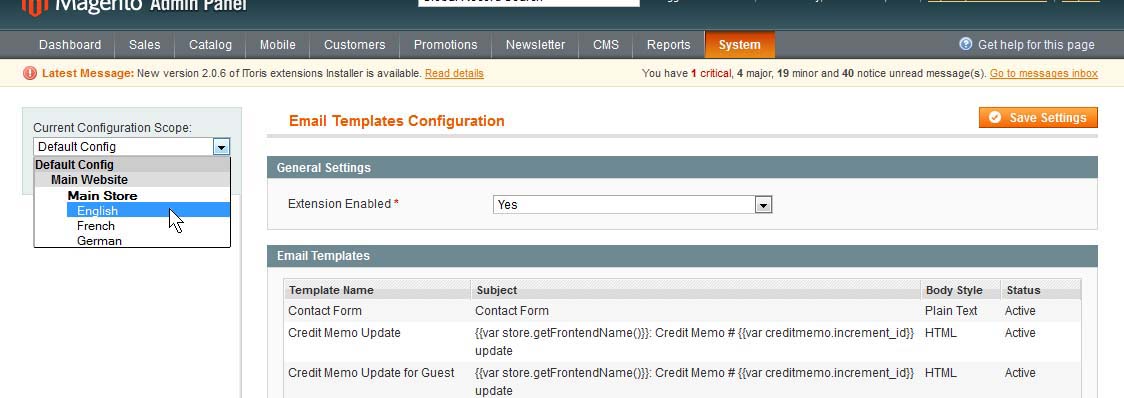
You can enable extension for all stores together - or for selected stores only. Choose the store(s), select Enabled =Yes and save the configuration. You can enable the extension for the selected stores only. To do it please select the stores on the left and enable the module. Check that it is disabled when you select the rest of the stores.
Languages’ Settings
To translate it for stores please open app/locale/en_En in your Magento and find Itoris_EmailTemplates.csv file there. Copy the file to the locale you need and open the copy for editing. The file will contain each phrase twice. Translate the second part of each phrase and save the changes. Creating Email Templates
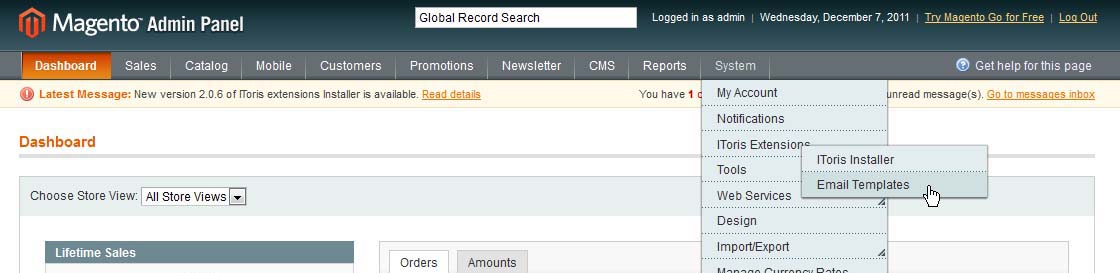
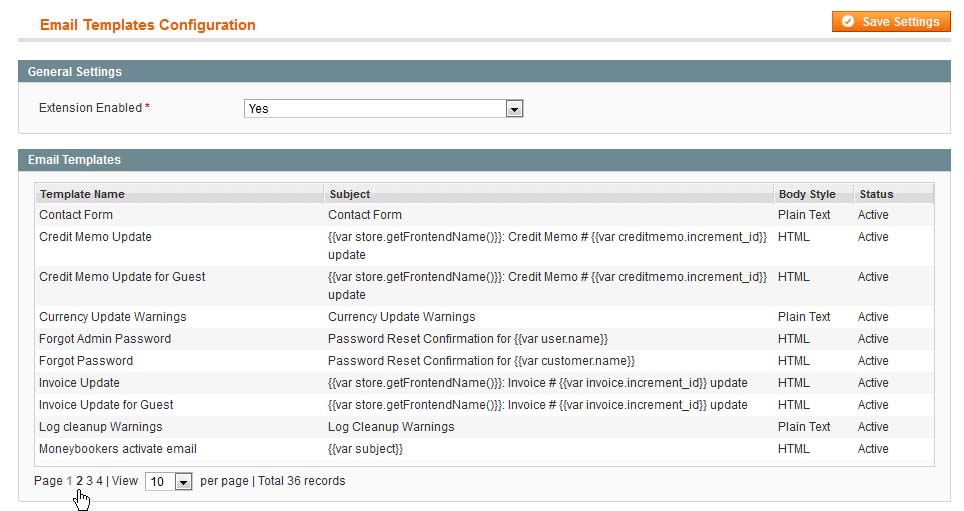
You will see all default templates uploaded in the list. By default 10 email templates are displayed per page.
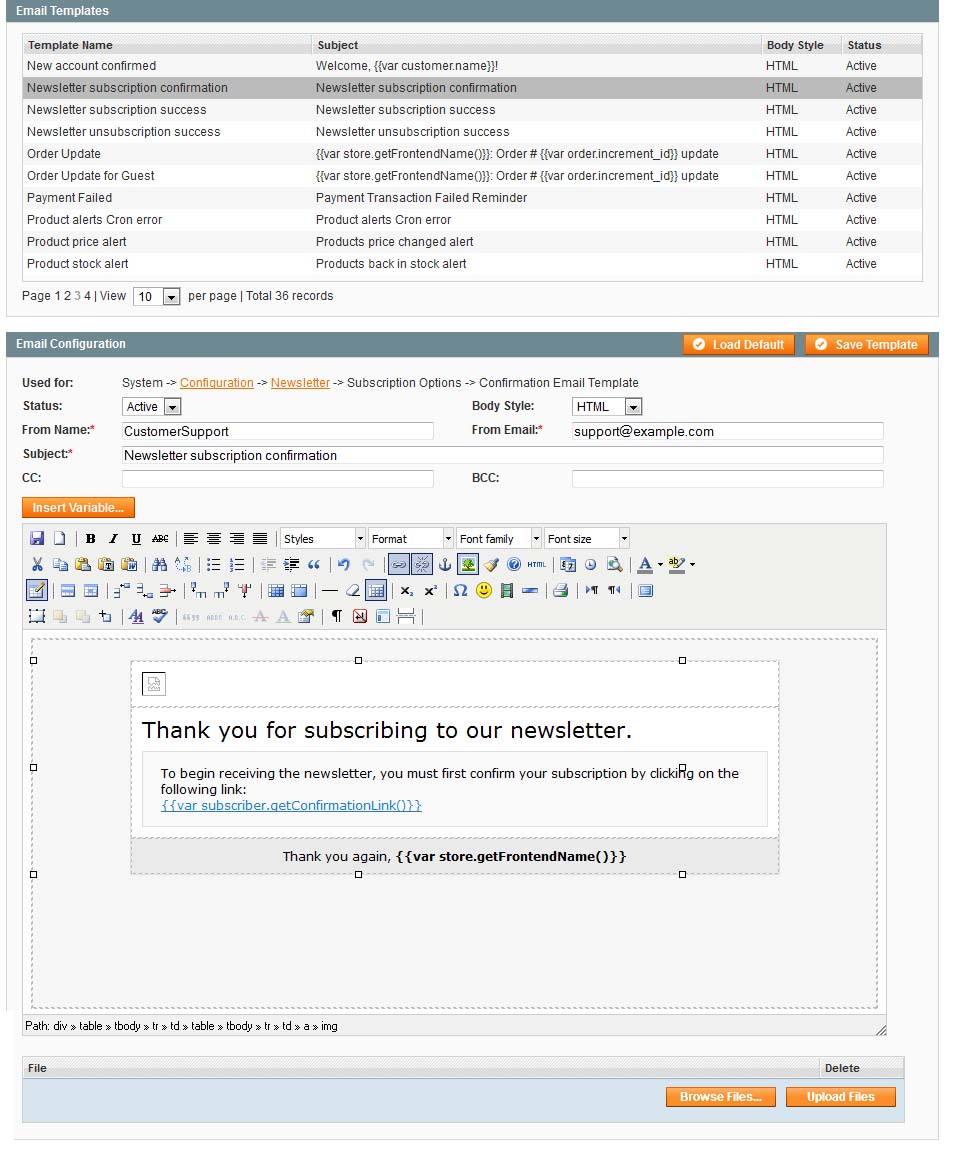
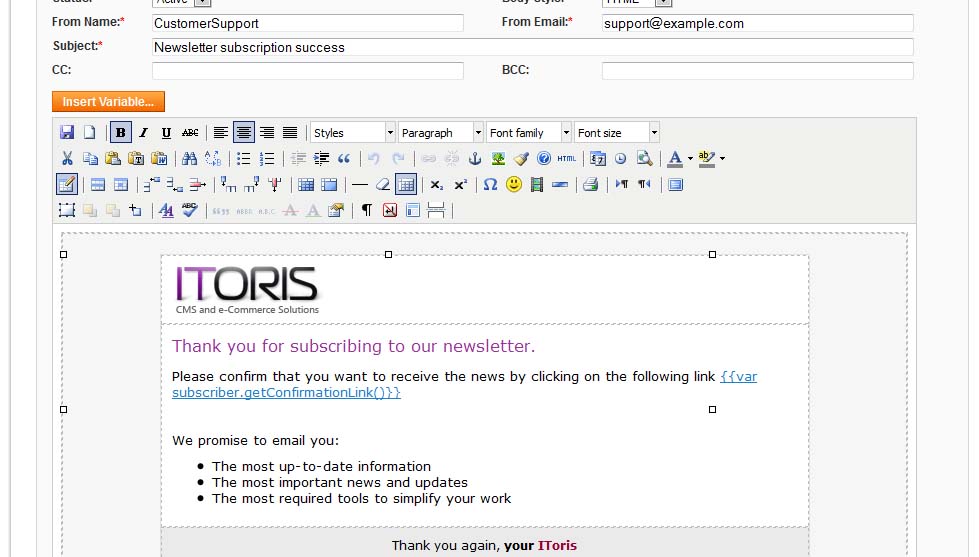
Clicking on a template opens up the area with the template’s details below. The selected email template’s name is highlighted grey. Each template will have the following areas: Email Header
Email Body
As usually, here you can switch to HTML editing - or leave the visual mode for easier creation.
Your customers will receive the email looking the same as you see during the creation:
Email Actions
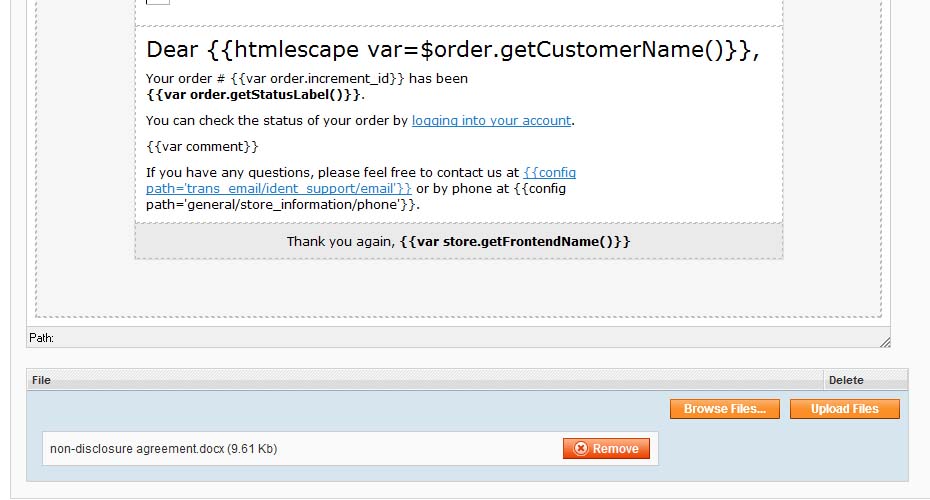
Attach Files to Emails
Below the WYSIWYG body area there are ‘Browse Files’ and ‘Upload Files’ buttons. Select the files to be attached and upload them. The attached files will be displayed below the body area:
|