Username
Password
Remember Me
Log in
Forgot your password?
Forgot your username?
Forgot your username?
|
Category Navigation for Magento. User Guide
PurposeThis document is a User Guide for Category Navigation module for Magento. It describes how work with the extension. The extension adds sliding sub-menu(s) to category pages as well as other pages. The series of slides are clickable and work as visual menu (you can add images and style it the way you want). There can be several consequent sub-menus going one after another. System RequirementsThe extension works under Magento from 1.4.x and higher. The extension works with Apache 1.3.x and higher, PHP 5, Linux or IIS. The extension’s correct work is guaranteed with the following browsers:
The correct work with other Magento versions, other browsers and Apache/PHP versions is not guaranteed. InstallationAll our Magento extensions and templates are installed via IToris Installer. LicenseMagento modules developed by IToris are provided with 3 license types - regular, premium and multi-host. Regulal license is partially encrypted. This license is website-dependent. By ‘website’ here we understand the website in Magento terms. Under one Magento installation one license key of the extension can activate all stores/storeviews. within one website. If your configuration has several Magento websites - a separate license will be required for each. Multi-host license provides ability to install the module to an unlimited number of hosts. It is 100% and is installed as an archive. You can switch the license from one domain to another – login to IToris website using the credentials you will receive after the purchase. Go to My Downloads area, find your key there and reset it from the current website. Then use it again to activate another website. Activation
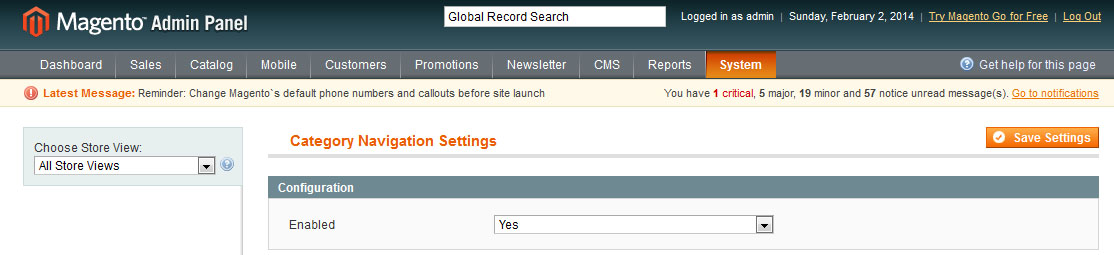
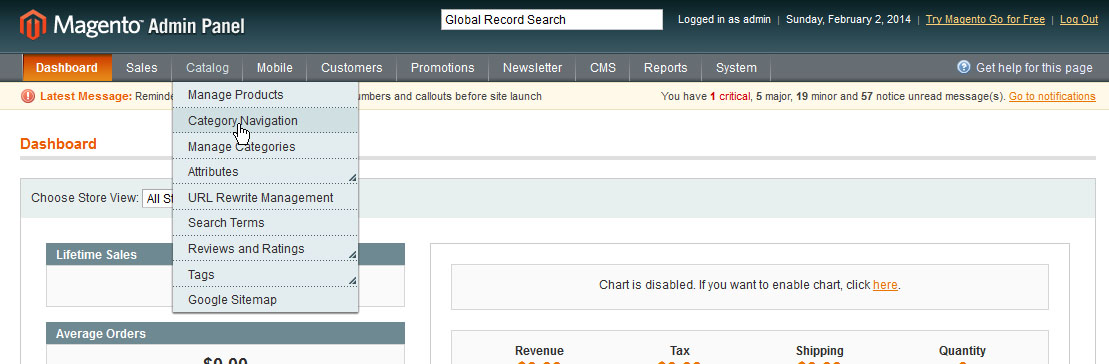
Enabled - this setting activates the module. If it is switched off - the extension will not be available for the customers There is ability to activate/deactivate the module for selected stores/storeviews (use Choose Store View drop-down). Slides Configuration
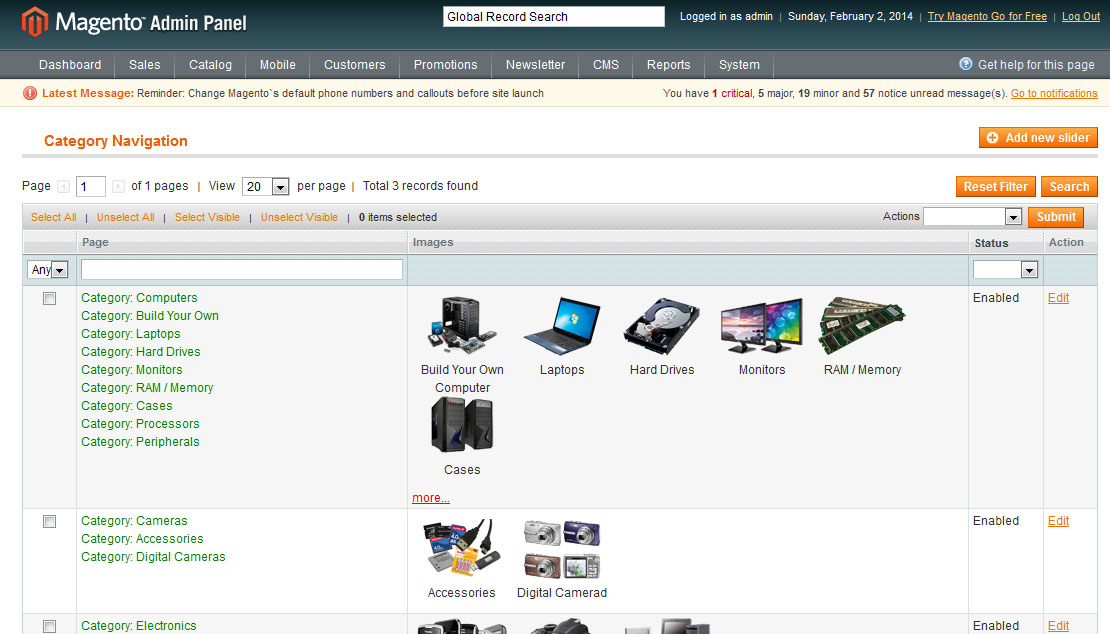
On this page you will have all the menu slides, will be able to create new series as well as edit existing ones.
To create a new slider press Add new slider button.
There are 3 areas for configuring the slider: Configuration, Items and Extra CSS. Configuration
ItemsCreate your slides in this area. To create a new slide select its:
After the first slide has been created - press Add New Item and create all slides of this slider the same way. Extra CSSThis area is for advanced users only. Here you can adjust the style of the slides if needed - link colors, font, backgrounds, etc. Itemid class is added to each container. When the slider is created - save it. Front-end
One-level slider:
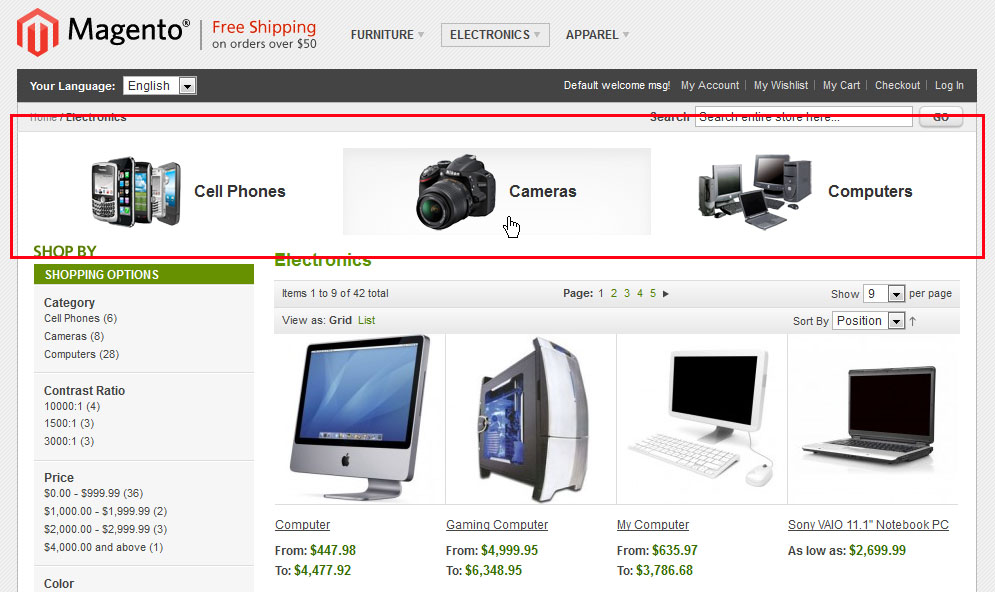
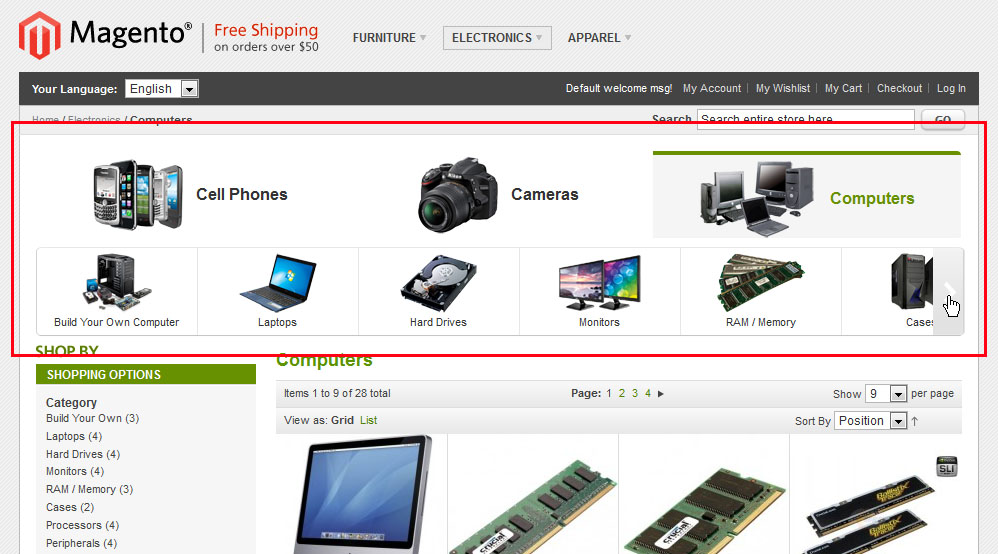
Two separate sliders:
Here Computers category has been selected, and the second slider shows sub-categories of the category. As there are more slides than the screen can display there are scrolling buttons with a beautiful sliding effect when scrolling. |