Username
Password
Remember Me
Log in
Forgot your password?
Forgot your username?
Forgot your username?
|
Attachments Anywhere for Magento User Guide
PurposeThis document is a User Guide for Attachments Anywhere module for Magento. It describes how work with the extension. With Attachments Anywhere you can easily add downloadable files to your product pages, CMS pages as well as customers’ dashboards. System RequirementsThe extension works under Magento from 1.4.x and higher. The extension works with Apache 1.3.x and higher, PHP 5, Linux or IIS. The extension’s correct work is guaranteed with the following browsers:
The correct work with other Magento versions, other browsers and Apache/PHP versions is not guaranteed. InstallationAll our Magento extensions and templates are installed via IToris Installer.
LicenseMagento modules developed by IToris are provided with 2 license types - regular and premium. Regulal license is partially encrypted. This license is website-dependent. By ‘website’ here we understand the website in Magento terms. Under one Magento installation one license key of the extension can activate all stores/storeviews. within one website. If your configuration has several Magento websites - a separate license will be required for each. You can switch the license from one domain to another – login to IToris website using the credentials you will receive after the purchase. Go to My Downloads area, find your key there and reset it from the current website. Then use it again to activate another website. General Settings
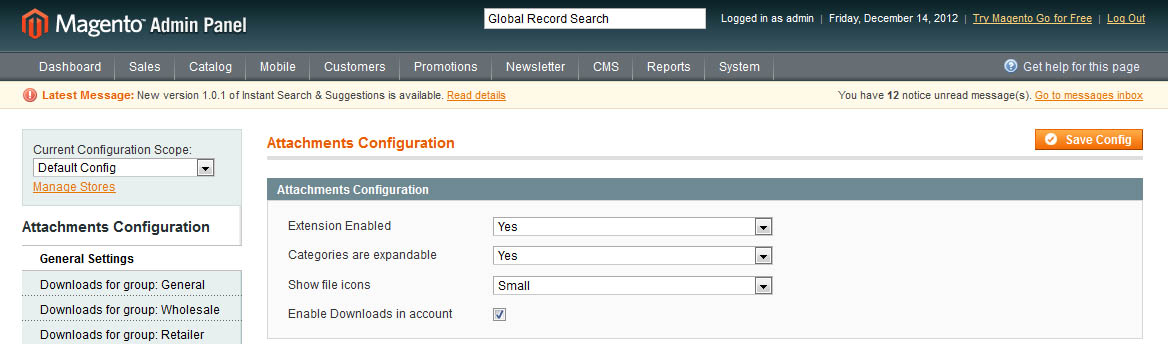
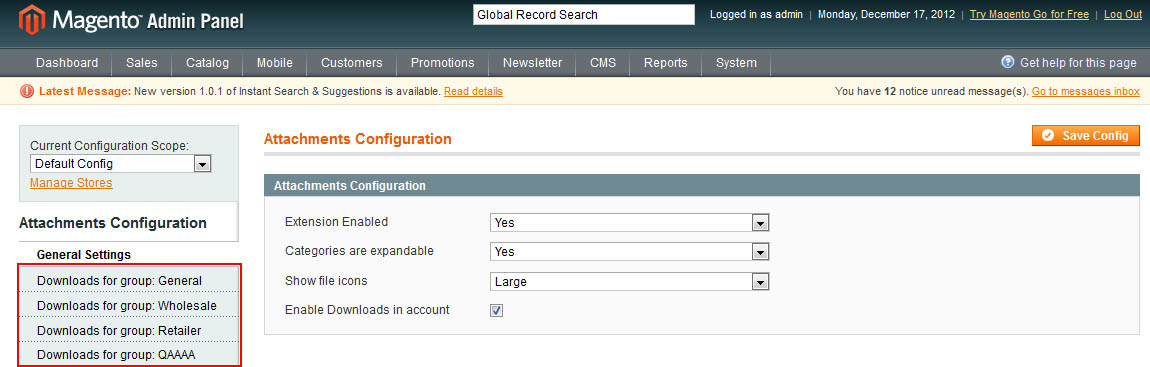
On this page you can select the main configuration of the module:
There is ability to select its own set of settings for stores/storeviews (use Current Configuration Scope drop-down). Secured DownloadSome files can be very sensitive against unauthorized downloading. That is why secured download functionality is implemented in the module, providing only authorized downloading. Depending on your settings and the place where you upload files they can be downloaded only by the customers that have permissions to do that. There is no ability to share the URL or view/download the files uploaded for another customer group, single customer, and so on. Declare Functionality in TemplateTo make Attachments work please declare the module in your template:
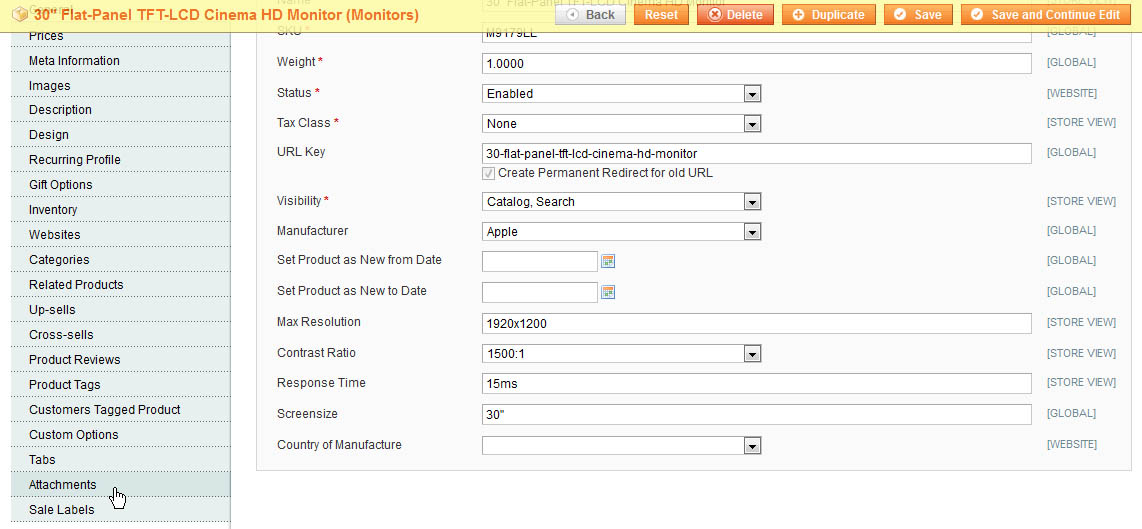
Downloadable Files for Product Pages
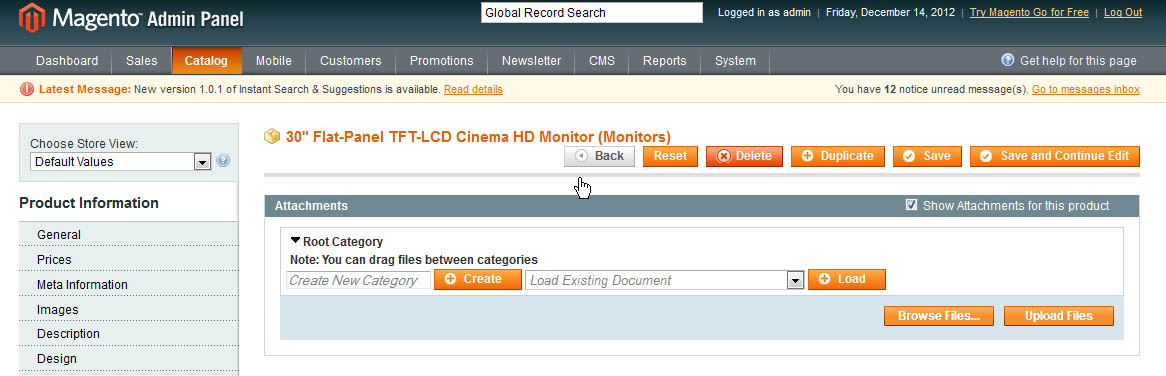
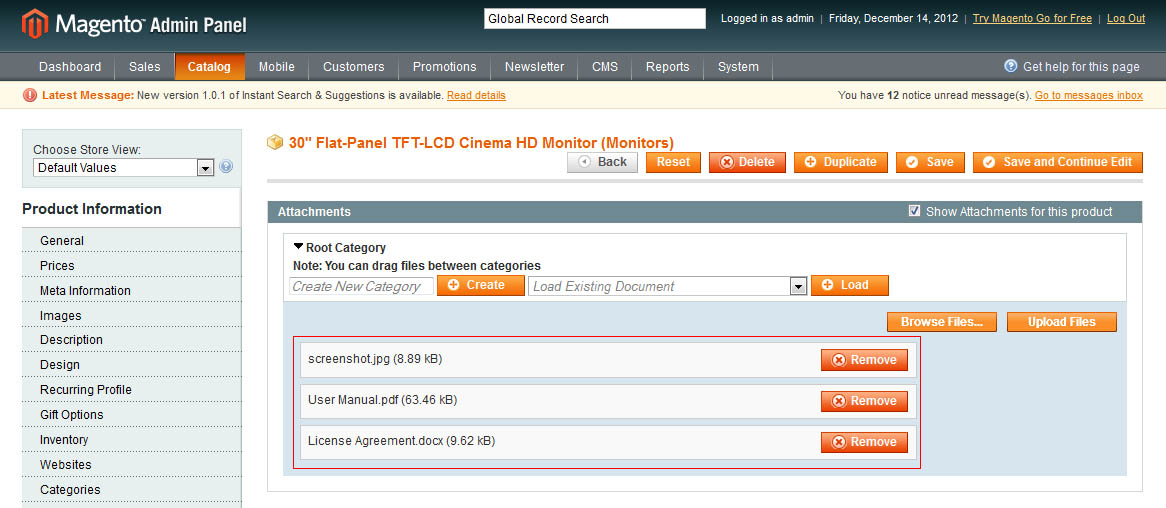
Select the tab to add downloadable files to the product. Upload Files for ProductsThere will be a special area for creating downloads. Start with uploading files.
Press Browse Files button and find you file(s) that you keep locally. You can select several files together for uploading. Add them. You will see then in the list on the page.
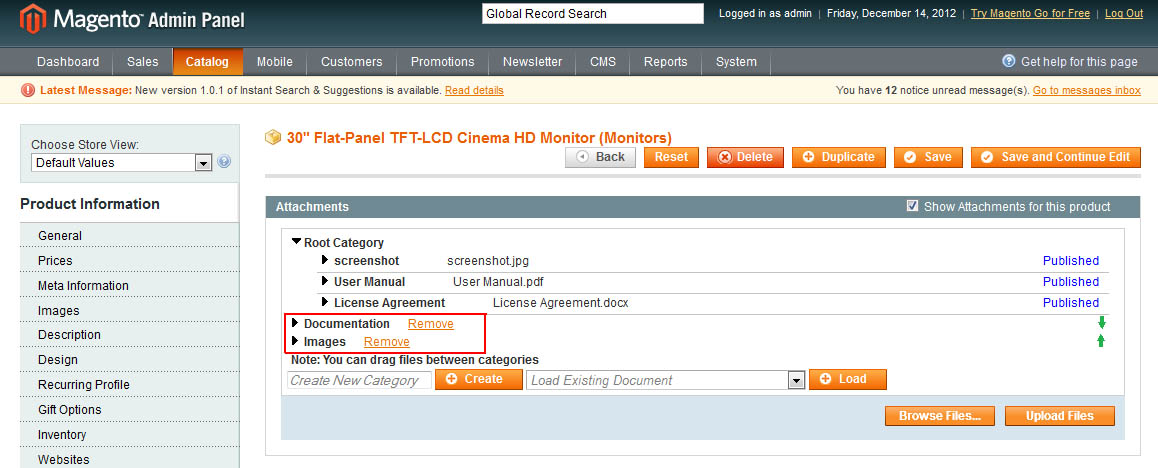
Press Upload Files button to upload the files. If you upload the same file for several products - there is no need to re-upload it anew each time. Select it in Load Existing Document area. Create CategoriesAll uploaded files will be displayed in the main (root category).
If you leave them as they go now - they will be displayed all together. If you want to create categories and separate files in them - enter the first category name in Create New Category field and press Create button. Create all categories you need the same way. Now categories will be displayed under the list of files.
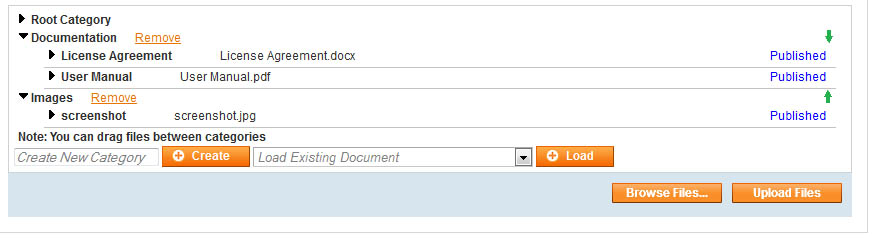
To organize files in the categories simply drag files to a category and drop there.
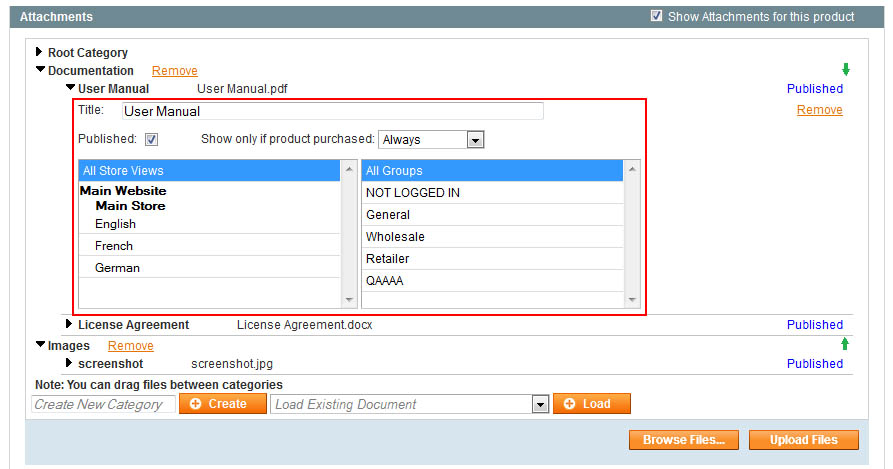
Green arrows on the right allow switching the order of the categories. The order they are displayed on the front-end will be the same as here in admin area. You can remove a category by clicking Remove link near its name. New categories can be created later on and added to the list. Set Special Permissions for Files’ VisibilityThere is ability to make each file available under special conditions only. To set this please click a file. There will appear a settings’ area:
Attachments for CMS Pages
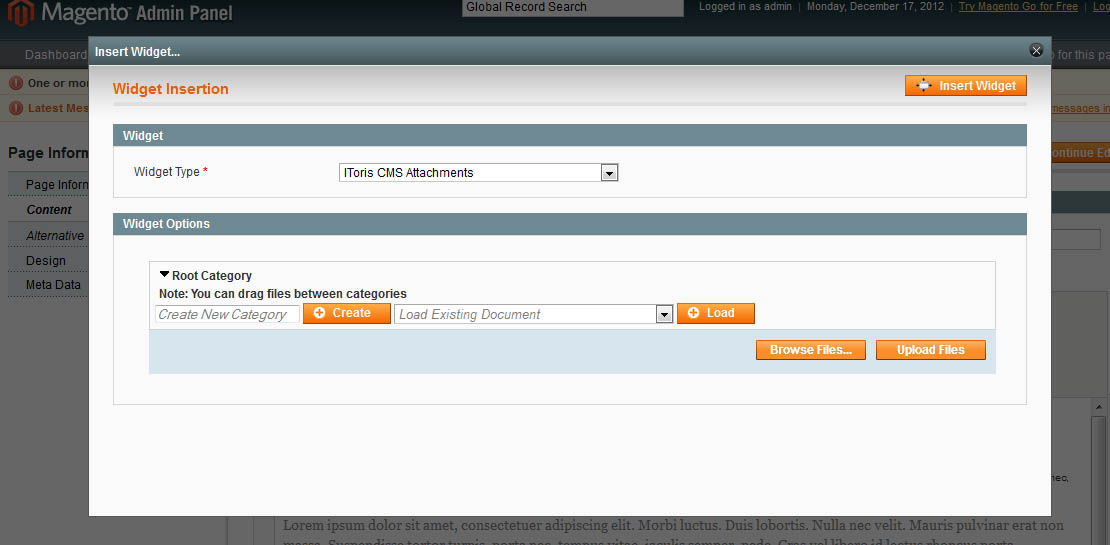
Please open the page and select Content from the left tabs. Insert widget in a usual Magento way:
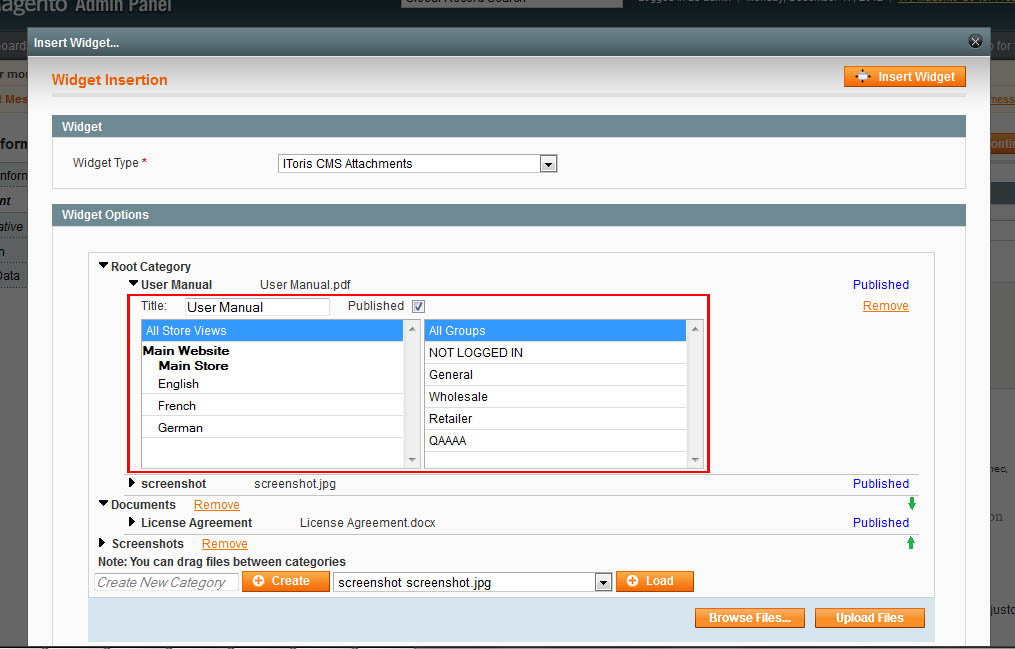
In the opened modal window select IToris CMS Attachments. There will appear an area for managing files and categories.
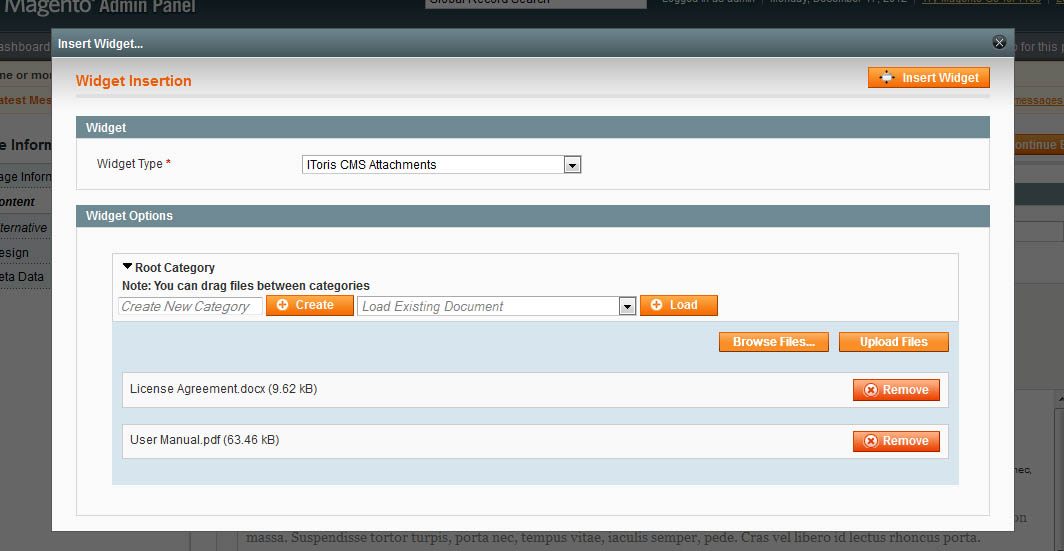
Upload files for CMS PagesTo upload files for CMS pages press Browse Files button and select the files. Several Files can be selected together.
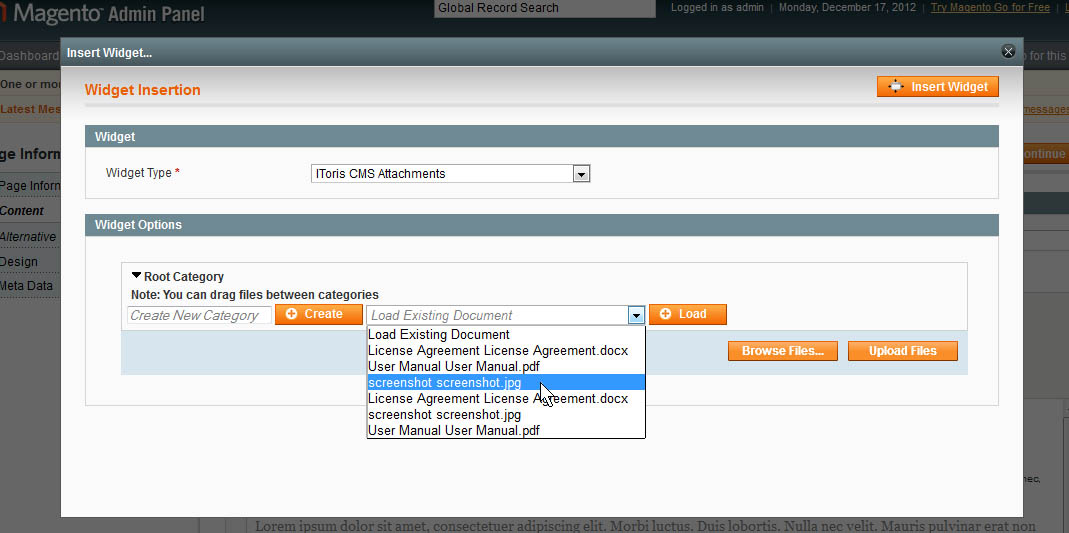
Once selected, they will appear in the list on the page. Press Upload Files button to upload them. If you have upload the files before, there is no need to re-upload then. Instead, press Load Existing Document drop down and select the file from the list.
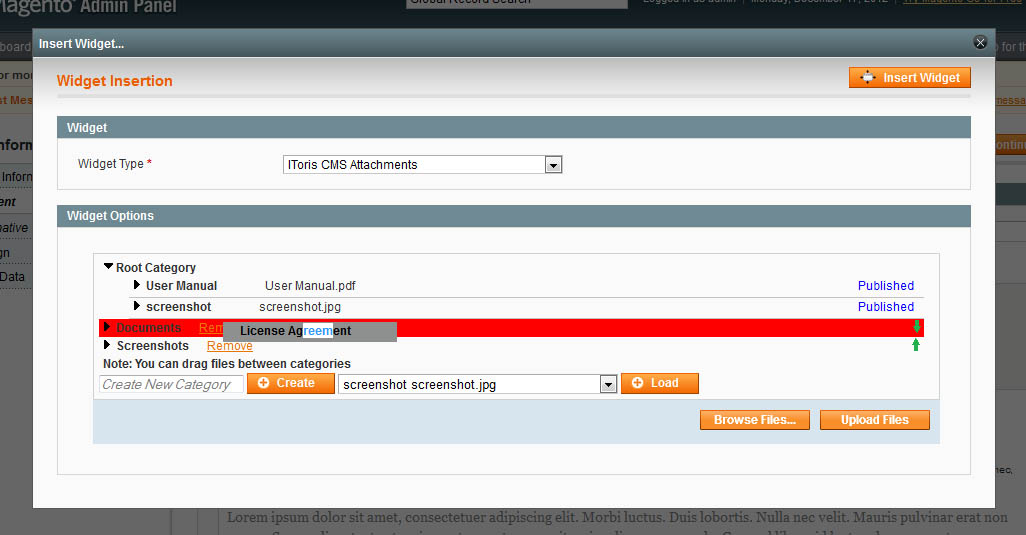
Create CategoriesOnce files have been uploaded, they all are displayed in the root category. If you want to separate them into categories - please create the categories. Enter the first category name in Create New Category field and press Create button. Create all categories you need the same way. To organize files in the categories simply drag the file to the category and drop there.
Set Special Visibility PermissionsThere is ability to make files available under special conditions only. To set a file’s visibility permissions click a file. A new area with the settings will be displayed.
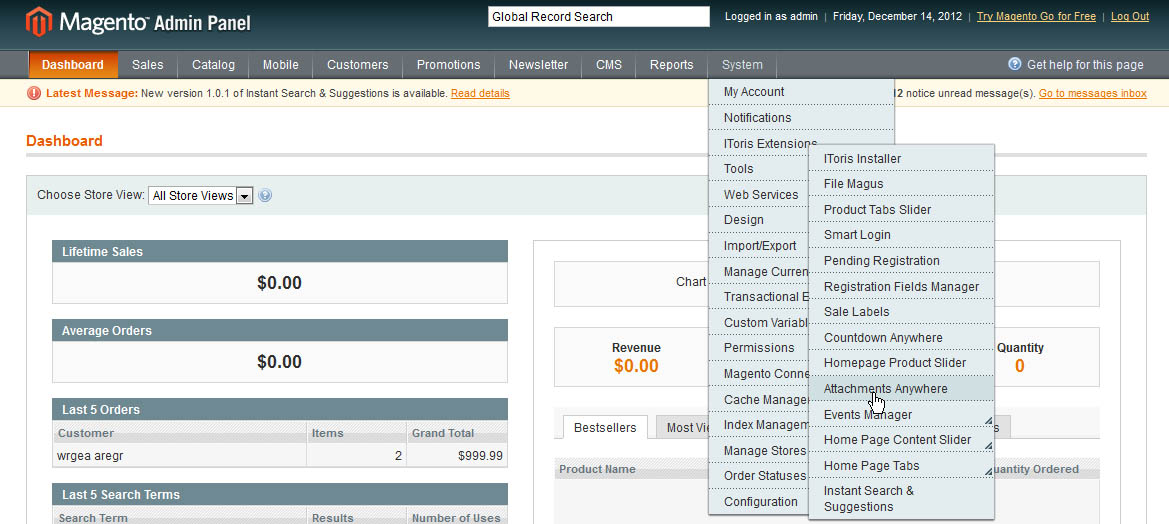
Attachments in Customers’ Dashboards
Each group will have its own set of files; other groups’ files will not be available. Add Downloadable Files for Customer GroupsTo add files to customer groups please select System –>IToris extensions –> Attachments Anywhere
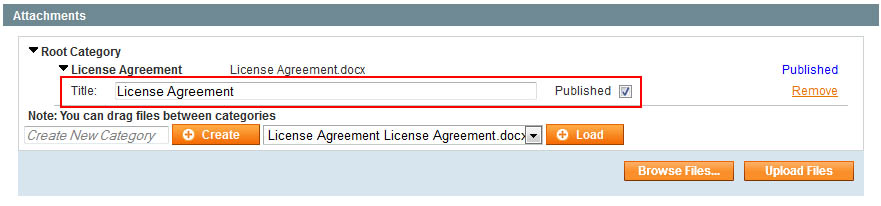
Select the group and add files for downloading there. The functionality of adding files and creating categories is the same as for products or CMS pages. If you click a file’s name - there will be additional settings for it:
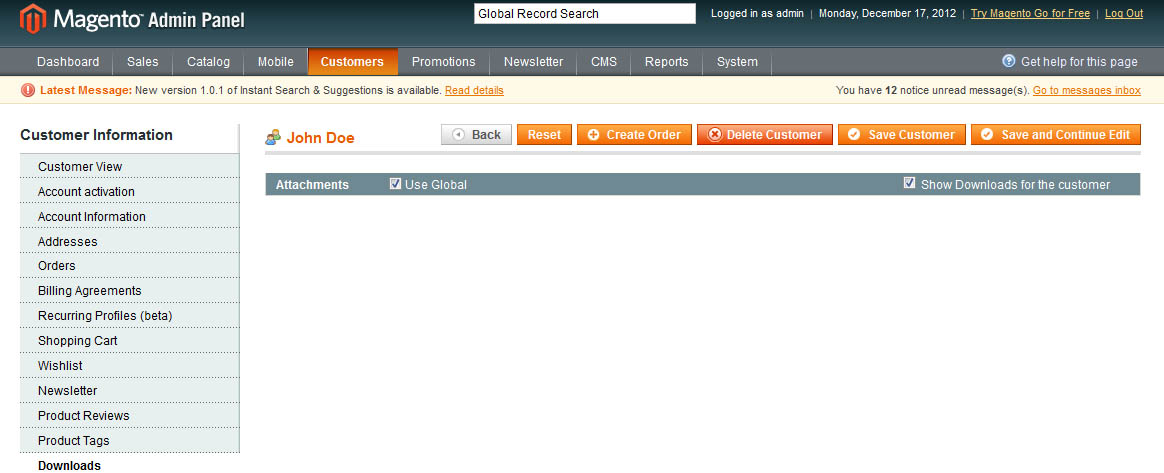
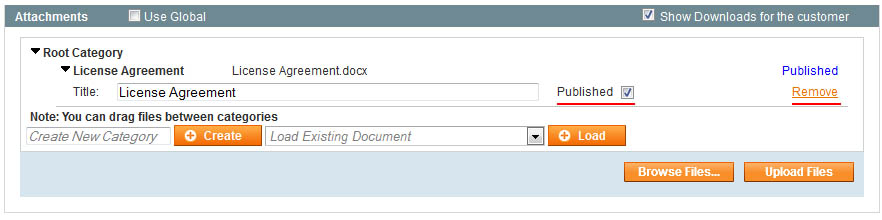
File is visible on the front-end only when Published checkbox is checked. You can change the file’s title by re-typing it and saving the changes. Add Files for a Customer IndividuallyYou can upload files for customers individually. For example, you can upload a contract for signing. To do it open the customer’s dashboard for editing in admin area and select Downloads tab from the left. By default the customer will have downloadable files created for his/her group (if available). They will be hidden.
To create a personal set of files uncheck Use Global checkbox. You will see the list of files for the customer group available for editing for this customer.
Upload the files you need the same way as for products, create and manage categories. To hide default file(s) click the file’s title. There will appear additional settings. You can unpublish the file there (it will not be visible from the front-end then) or remove it by clicking Remove link.
|