Username
Password
Remember Me
Log in
Forgot your password?
Forgot your username?
Forgot your username?
|
Digital Signature for Magento User Guide
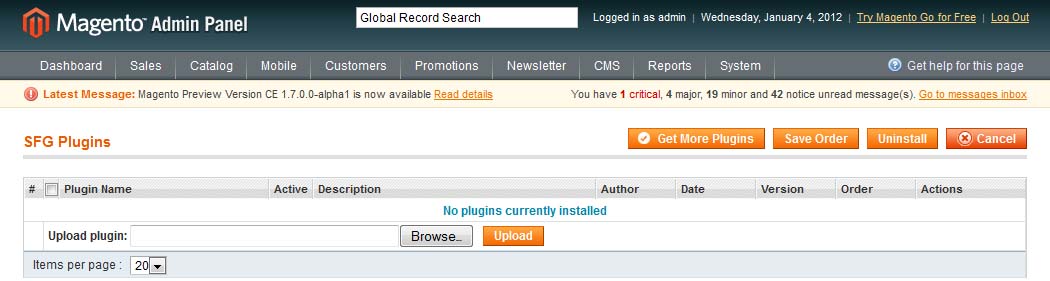
PurposeThis document is a User Guide for Digital Signature plugin for SmartFormer Gold module, Magento. It describes how work with the plugin. Digital Signature is a dependent plugin. It will work only together with SmartFormer Gold (Magento form builder), full version. This plugin allows adding a special area to forms where customers can create their signature and submit it together with the form. This way of signing with the computer mouse is considered to be legal in many countries, so you can greatly simplify and fasten the procedure of signing different agreements and contracts as everything can now be done online. Form will work as an agreement where customers populate their information and digital signature will substitute regular agreement signing. System RequirementsNo special system requirements are needed - Digital Signature is installable on any Magento version and will work with any browsers that SmartFormer Gold is compatible with. InstallationDigital Signature plugin is installable via a special area of SmartFormer Gold extension - plugin system. First of all, you will need SmartFormer Gold to be installed (more information on SmartFormer Gold installation). After the purchase of Digital Signature plugin you will receive an email with your credentials to //www.itoris.com Login and go to My Products. There you will be able to download your Digital Signature plugin. Download it and save on your computer. Open admin area of your website. Select System -> IToris Extensions -> SmartFormer Gold -> Plugin Manager. You will see a special plugin area
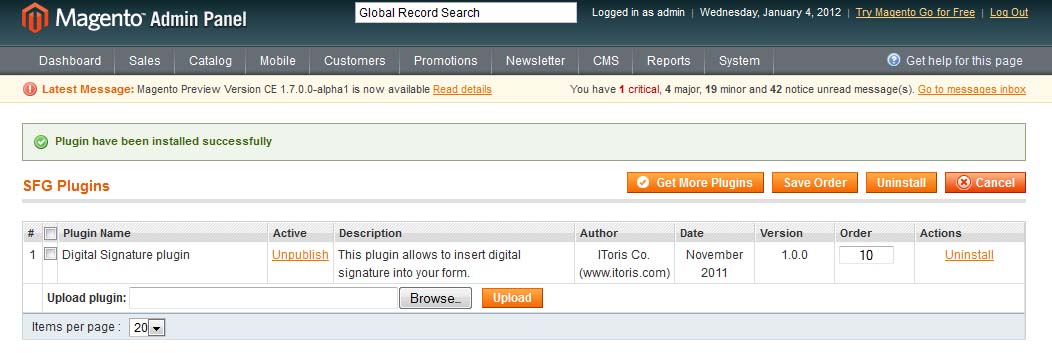
Press Browse button, find your saved plugin and press Upload. Digital Signature plugin will be installed.
LicenseDigital Signature plugin is provided under open-source commercial license. It has no any license keys, etc. - please feel free to install the plugin on as many Magento websites having SmartFormer Gold as you wish.
Settings
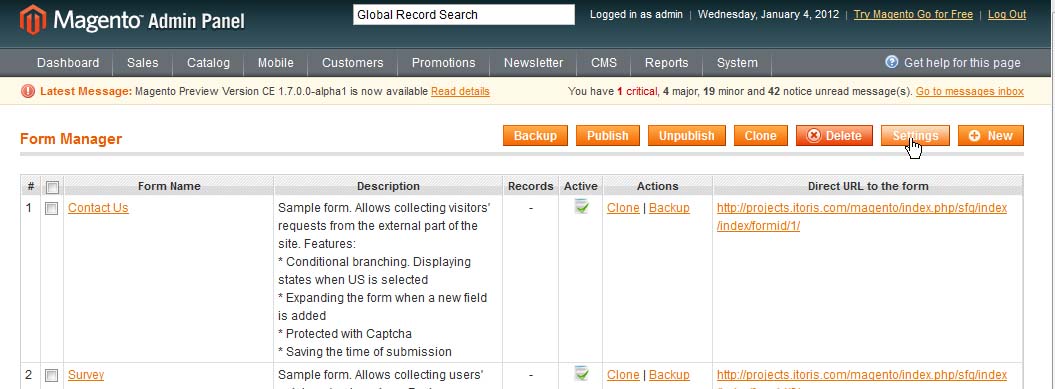
Select System -> IToris Extensions -> SmartFormer Gold -> Form Manager. Then press Settings button on the top right.
Scroll down the settings page to see Digital Signature Settings:
There is one more setting - for advanced users only: N.B. If you have accidentally broken HTML code here - remove all code from the area and save the changes - the default code will be restored.
How to Insert Digital Signature in Forms
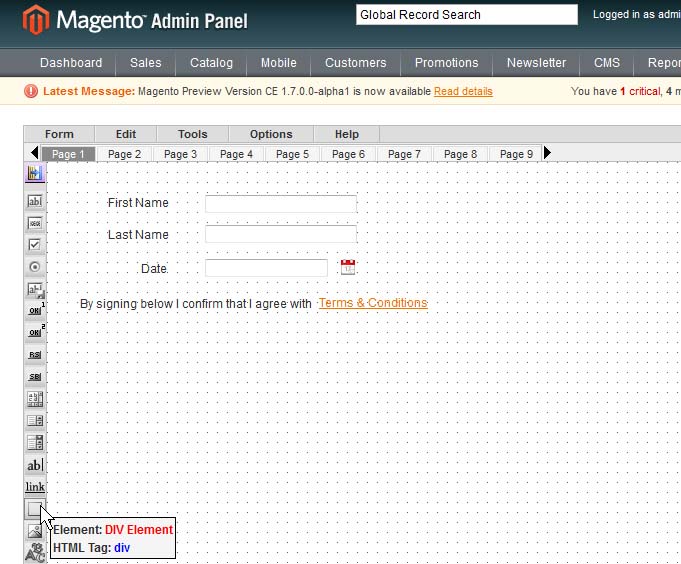
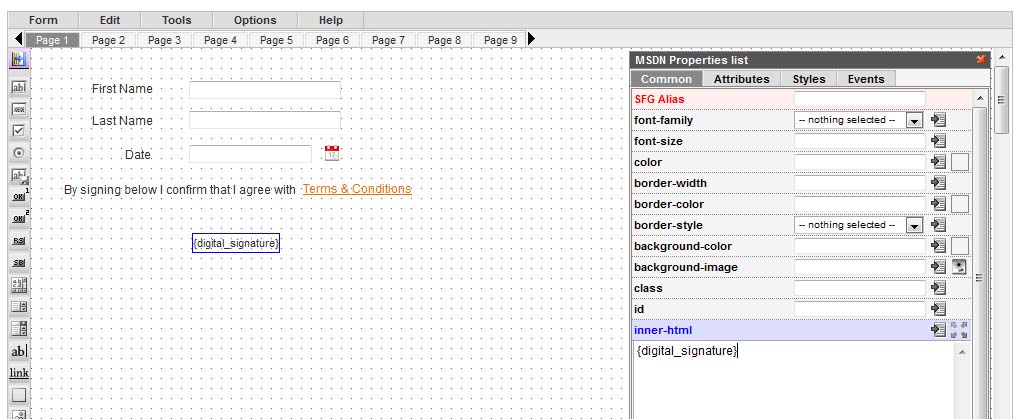
Drag a new DIV element to your form (to the place where digital signature should be displayed).
You will see its properties box. Add {digital_signature} to its Inner-HTML
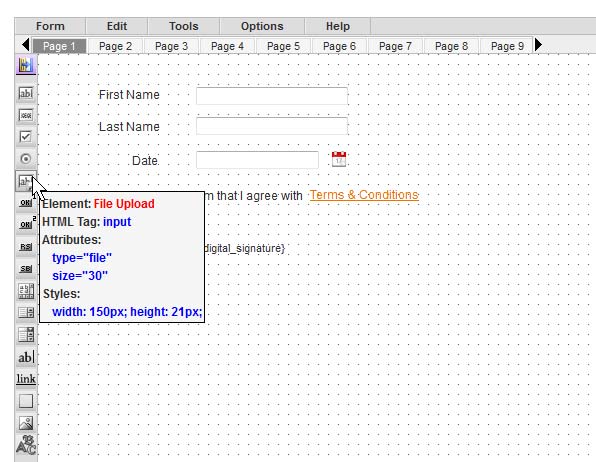
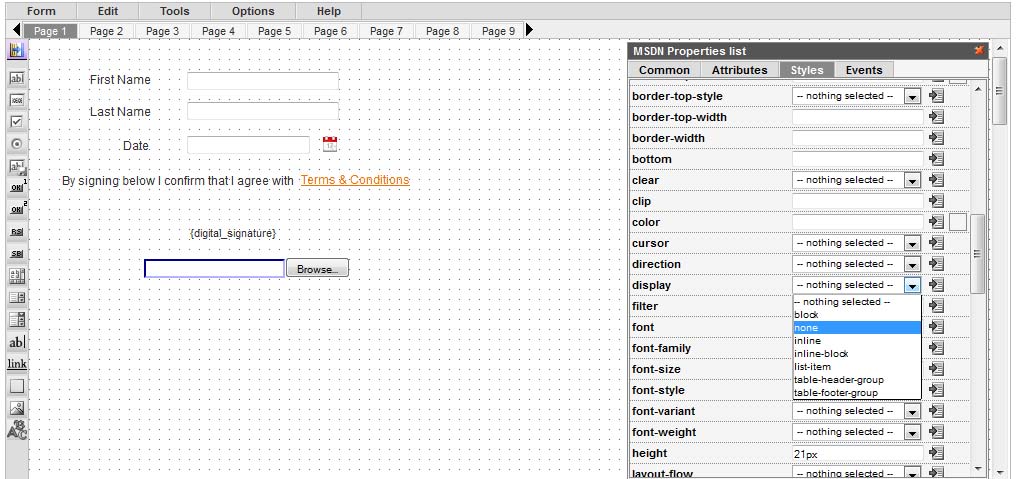
Then drag File Upload element
In its properties add the following:
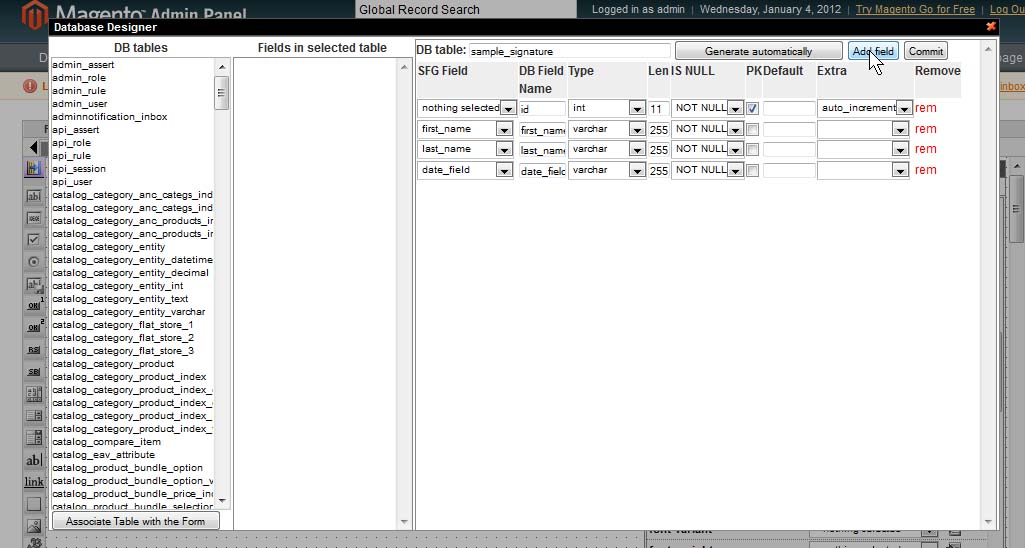
Now the elements that will form the signature are added. We will need to create a new DB table’s field for the signature (so that the signature image is kept). Select Tools -> Database Designer from the form’s menu. There you will see the DB table of your form (created before, together with the form). Press Add Field button.
Select/enter:
Press Commit button to apply the changes and close the area. Save the form and close it. Open your form on preview to check how signature area is displayed. Perhaps you will need to move the area on the form to adjust it.
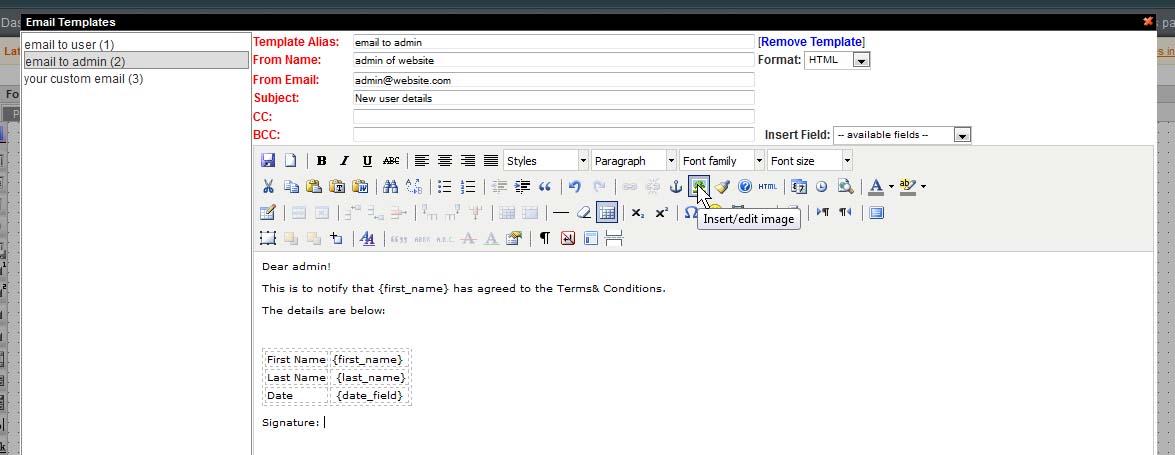
How to Insert Signature Image in Emails
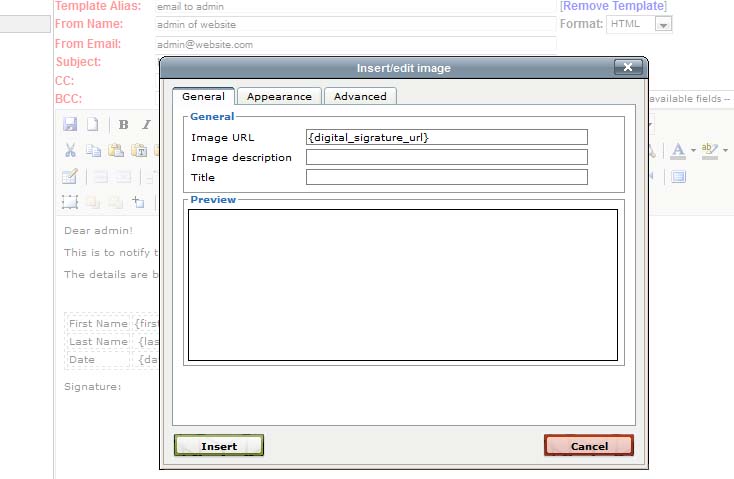
Create your email template (more details of how to create email templates in SmartFormer Gold). Select where the signature’s image should be displayed. Add image element from the WYSIWYG menu:
In its properties enter {digital_signature_url}
Set the rest of the properties and save the template. Save the form. In real email this image will be substituted with signature’s image. You can manage the size and place of the image in the WYSIWYG.
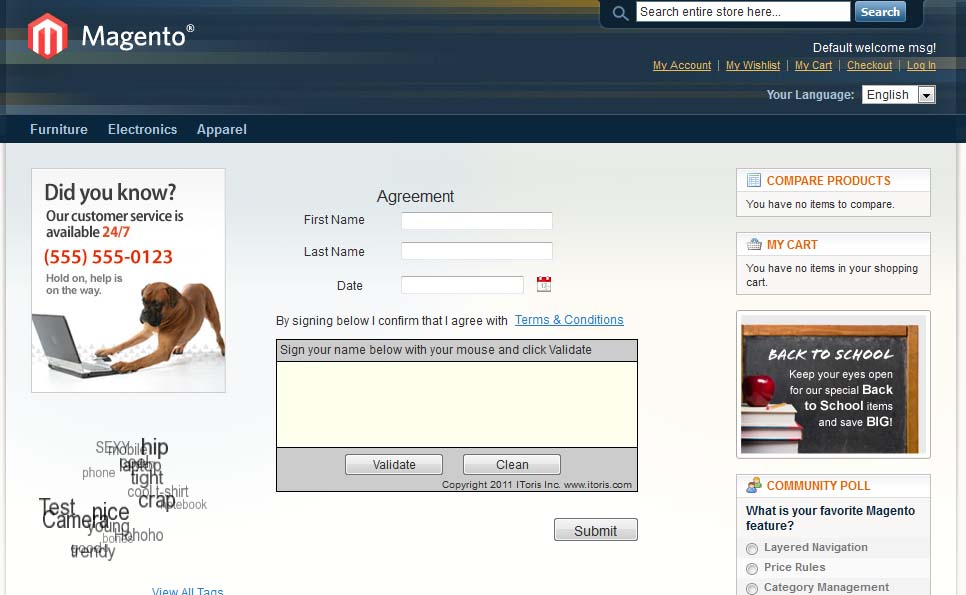
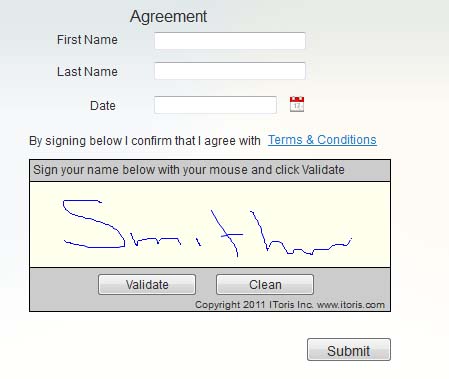
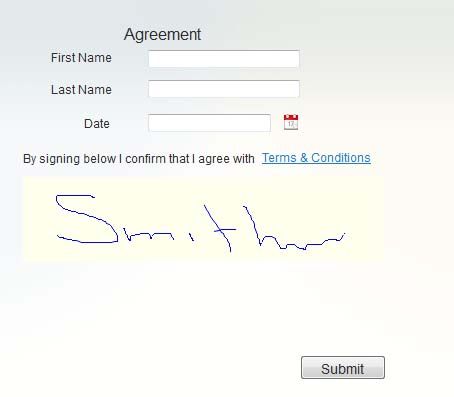
Front-end. What your Customers will See
There will be a signature area where customers will sign with their mouse’s movement. In case the signature needs corrections - they can click Clear button to clear the area. Once the signature is ready - they need to press Validate button, and the signature will be converted into image.
The size and color of the line, as well as the color of the area depends on the settings you have selected. Your customers will populate and submit the form together with the signature. The signature image will be saved with the submission.
|