Username
Password
Remember Me
Log in
Forgot your password?
Forgot your username?
Forgot your username?
|
Quick Buy for Magento User Guide
PurposeThis document is a User Guide for Quick Buy extension for Magento. It describes how work with the extension. Quick Buy expands Magento functionality in cases when your wholesalers and regular customers are familiar with you goods. They need a fats way to create a new order list and purchase. The extension provides a new area on your website where advanced AJAX search allows easily finding products by their title, SKU, category or words in their description. The fount products are transferred to the list that then can be moved to the shopping cart with one click. The module is developed with the modern approach, there is no page overloading - all actions are applied with AJAX on the same page. Beautiful visual effects make the functionality look up-to-date. System RequirementsThe extension works under Magento 1.3.x, Magento 1.4.x, and Magento 1.5.x and higher. The extension works with Apache 1.3.x and higher, PHP 5, Linux or IIS. The extension’s correct work is guaranteed with the following browsers:
The correct work with other Magento versions, other browsers and Apache/PHP versions is not guaranteed. InstallationAll our Magento extensions and templates are installed via IToris Installer.
LicenseQuick Buy is website-dependent. By ‘website’ here we understand the website in Magento terms. Under one Magento installation one license key of the extension can activate all stores/storeviews. within one website. If your configuration has several Magento websites - a separate license will be required for each.
Back-end. Settings
You can enable extension for all stores together - or for selected stores only. Choose the store(s), select Enabled =Yes and save the configuration. You can enable the extension for the selected stores only. To do it please select the stores on the left and enable the module. Check that it is disabled when you select the rest of the stores. Back-end. Language Settings
To translate it for stores please open app/locale/en_En in your Magento and find ITorisQuickBuy.csv file there. Copy the file to the locale you need and open the copy for editing. The file will contain each phrase twice. Translate the second part of each phrase and save the changes. Back-end. Access Settings
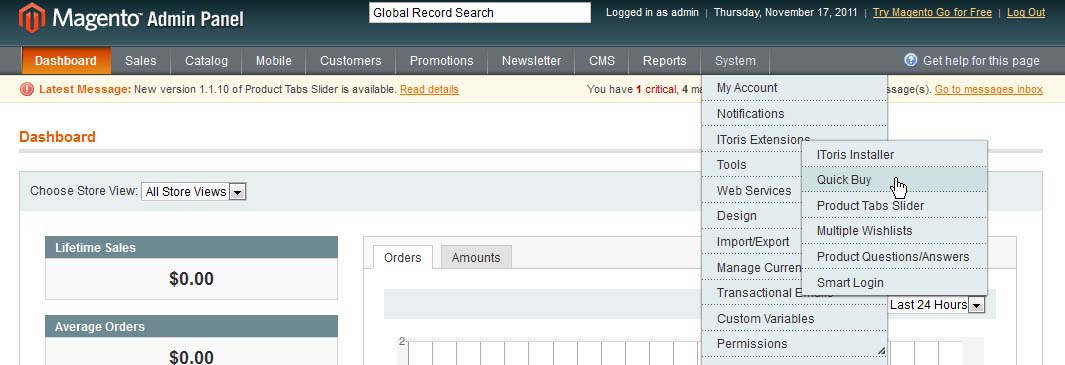
To do it select System -> Permissions -> Roles. Select a back-end user, in the left menu open User Roles tab. Check/Uncheck Quick Buy in the list of permissions and save the changes. Back-end. How to Add Quick Buy Area on the Website
As this area is available via direct URL (you can copy it from settings page of the extension) - you can add it anywhere you wish. To add the Quick Buy link to a static block please do the following:
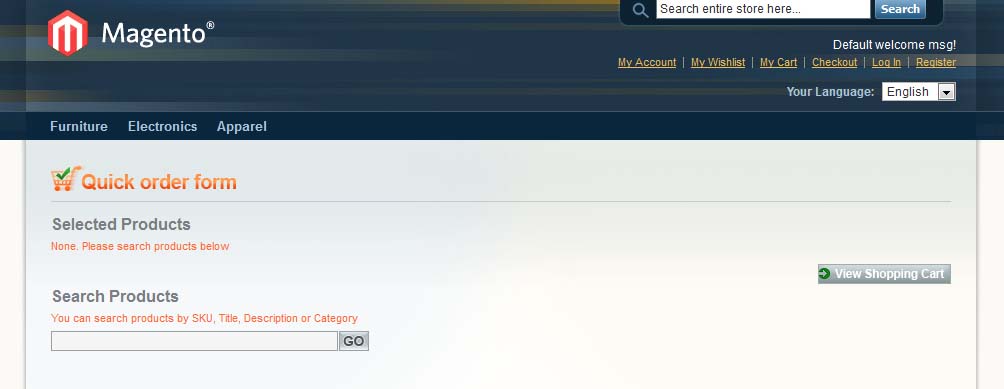
Front-end. Overview
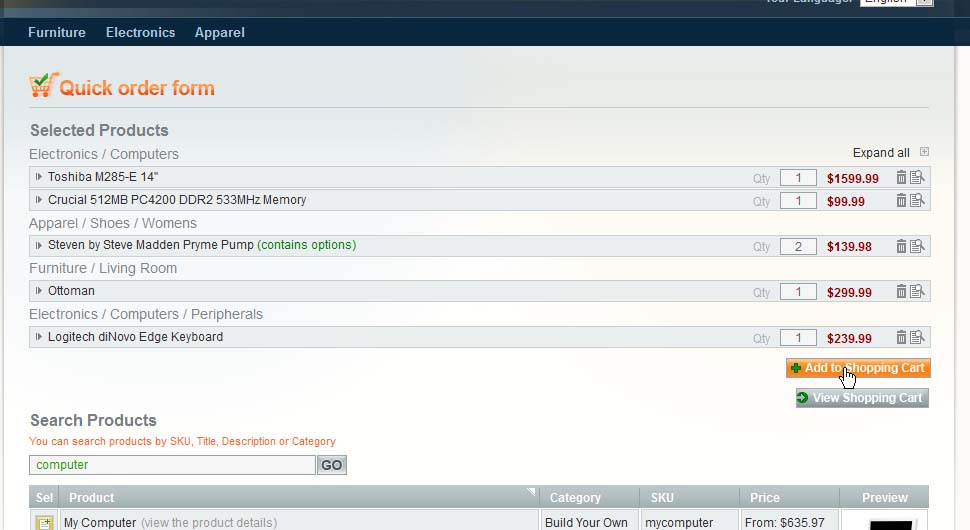
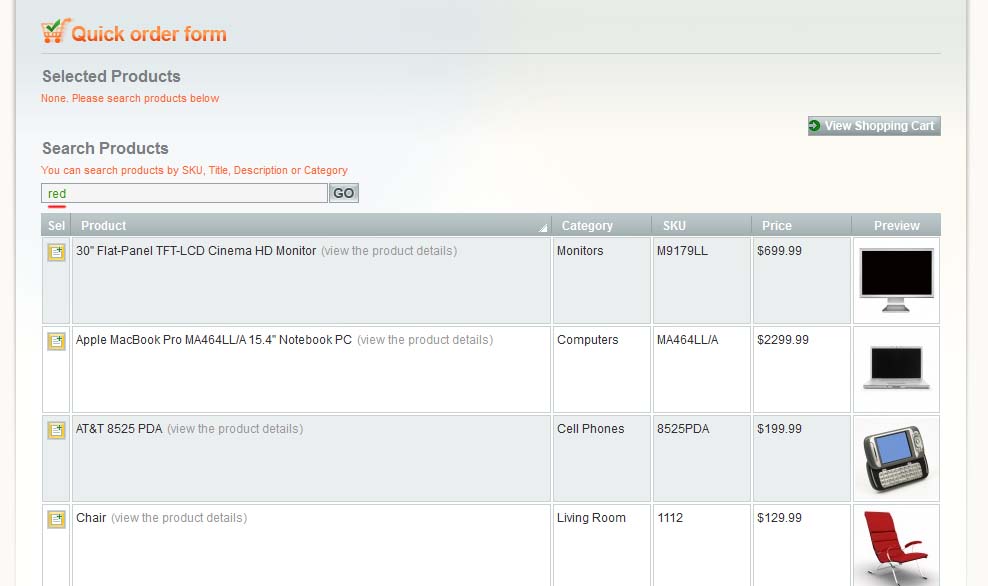
On the top there is Selected Products list - where your customers will form their order. Below there is Search where they will find the products to be added. Front-end. Search
Your customers will enter any search parameter and will get the list of results below. Each product in the list will have the title, category, SKU, price and preview. By default 5 products will be displayed. If there are more products found, then there will be paging below the list. Each column in search results can be sorted out alphabetically by clicking its name. Products from search results are added to Selected Products list easily. To do it customers click ‘Sel’ icon near the title. This moves the product to the top list on-the-fly with a beautiful visual effect. Customers move the products they need, then re-apply the search again, etc.
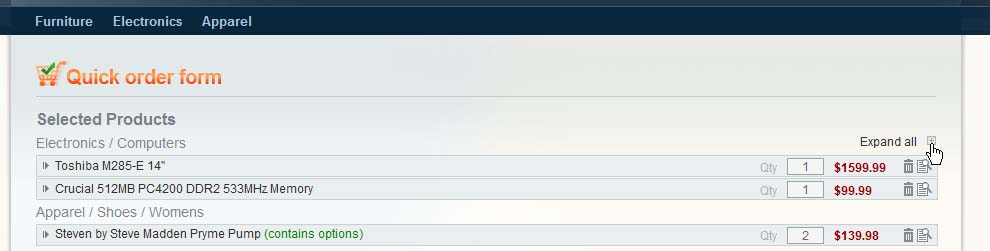
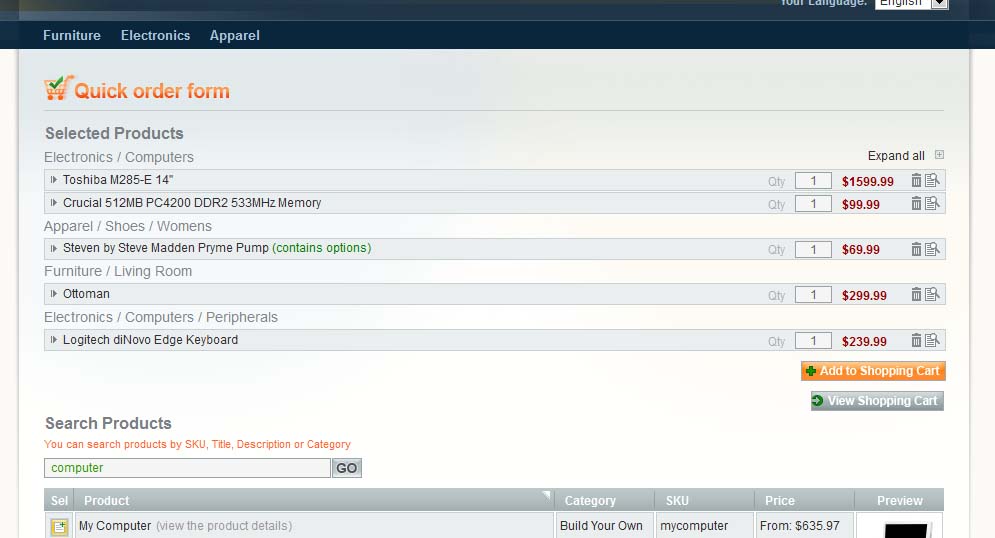
Front-end. Selected Products List
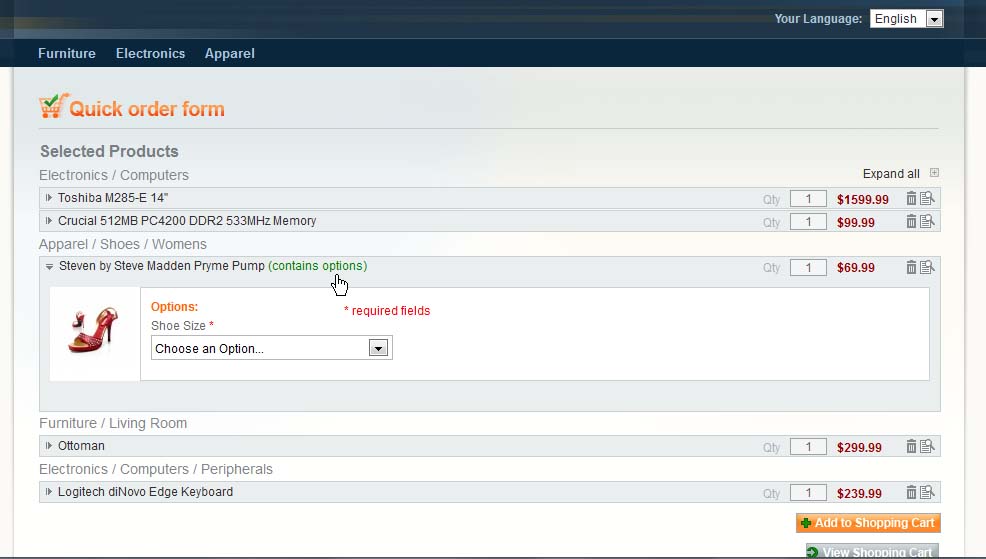
The products in the list are sub-divided by categories so that it is easier to navigate for customers with the larger orders. Each product has Title, quantity box, price and several available actions. In case a product has mandatory custom options - it will show ‘contain options’ note near its title. Each product can be clicked to see its additional details. Clicking undraws the details. Inside the preview image as well as mandatory options (should there be any) are displayed:
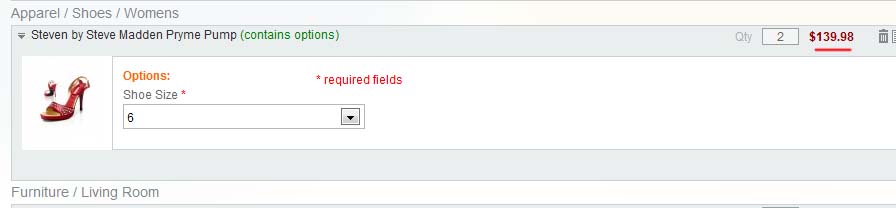
When customers select the options or change the quantity - it updates the price in real time:
In case a product needs to be removed from the list - customers can click the basket icon Magnifying glass icon
As soon as all options are selected and quantities are set - customers now can add the whole list together to the shopping cart. To do it they click ‘Add to Shopping Cart’ button.
The products are added together with their quantities and selected options. Pressing ‘View Shopping Cart’ button opens up the cart in a new window. |

 . There is a confirmation message so that to avoid deletion by mistake.
 expands the selected product (as well as clicking on its title). There is also ability to expand or collapse all products together.